
Are you tired of bending down every time you take a shower? Your current shower head may be too low and it’s becoming uncomfortable for you to use. Don’t worry, there are simple solutions that can help you raise the height of your shower head and make your showering experience more enjoyable.
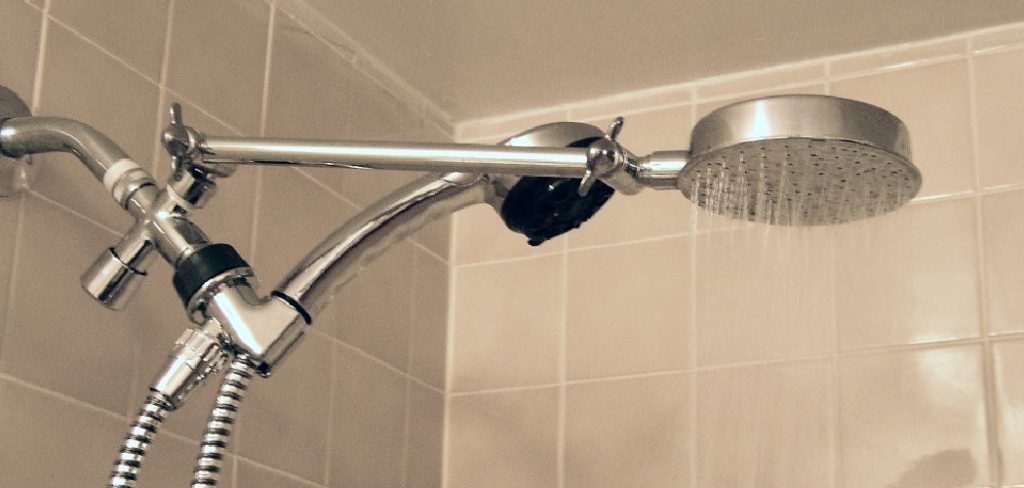
Positioning a shower head at the right height can significantly improve your showering experience, making it more comfortable and convenient. However, if the shower head is too low, it can feel restrictive and inconvenient for taller individuals. Fortunately, there are several ways to raise the height of your shower head without requiring extensive plumbing modifications.
This guide on how to raise shower head height will explore simple, effective methods to adjust the height of your shower head, ensuring a more enjoyable and personalized showering experience for everyone in your household.
What Are the Benefits of Raising Shower Head Height?
Before diving into the different methods of raising shower head height, it’s essential to understand why it is necessary and its benefits.
- Improved Comfort: One of the most significant advantages of increasing shower head height is improved comfort. With a higher position, taller individuals won’t have to bend down or crouch to use the shower, reducing strain on their necks and backs.
- Customization: By raising the shower head height, you can customize your showering experience according to your preferences. You can position the water flow comfortably, making your showers more enjoyable.
- Enhanced Accessibility: For individuals with limited mobility or disabilities, having a higher shower head can make it easier for them to use the shower independently. It eliminates the need for assistance and promotes independence.
- Better Water Coverage: Raising the height of your shower head can also improve water coverage and pressure, enhancing your overall showering experience.
Now that we understand the benefits of raising shower head height, let’s look at some simple methods to achieve it.
What Will You Need?
Depending on the method you choose, here is a list of basic tools and materials that you will need:
- Adjustable wrench
- Teflon tape
- Shower head extender/arm
- Pipe elbows/adapters if required
Once you have the necessary tools and materials, you can use the following methods to raise your shower head height.
8 Easy Steps on How to Raise Shower Head Height
Step 1: Assess the Current Setup
Begin by evaluating your current shower setup. Look at the position of the existing shower head and identify the type of plumbing and connections in use. Determine whether your shower head is attached to a fixed pipe or a movable arm, influencing the method you choose to raise its height. Take note of the height from the floor and ask yourself if the adjustment is for comfort, functionality, or specific needs such as accessibility.
Understanding the current configuration will help you decide on the most suitable tools and method for the job while avoiding unnecessary efforts or expenses. Additionally, inspect the condition of your piping and fittings to ensure they are in good shape before proceeding with modifications.
Step 2: Gather the Necessary Tools and Equipment
Before making any adjustments, ensure you have all the tools and materials required. Commonly needed items include an adjustable wrench, plumber’s tape, a step stool or ladder for height access, and a new shower arm or extension if your current setup requires replacement. Having the right tools on hand will streamline the process and prevent interruptions.
Additionally, consider using a towel or cloth to protect fixtures from scratches while working and a bucket to catch any water drips during the modification. Proper preparation ensures a smoother and more efficient adjustment process.
Step 3: Shut Off the Water Supply
Before starting the adjustment process, turning off the water supply to avoid leaks or accidental water flow during your work is crucial. Locate the main or specific valve controlling water to the shower and ensure it is fully closed. Once the water is off, test the shower by turning the faucet handle to confirm no water is coming through. This precaution prevents potential messes and ensures safety while you perform the necessary modifications.
Step 4: Remove the Existing Shower Head
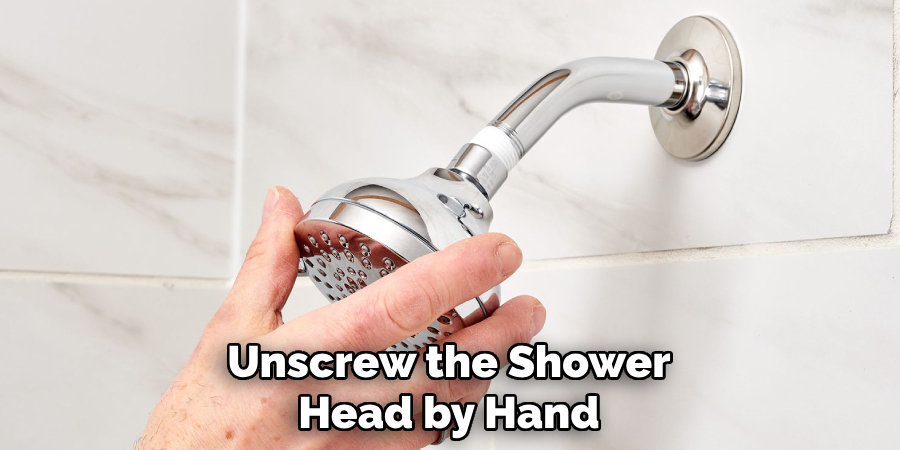
Use a wrench or pliers to carefully loosen the shower head from the shower arm by turning it counterclockwise. Wrap the jaws of the wrench or pliers with a cloth to prevent scratching the fixture. Once loosened, unscrew the shower head by hand and set it aside. Inspect the shower arm threads for any old plumber’s tape or debris, and clean them thoroughly to ensure a secure and leak-free installation of the new shower head.
Step 5: Apply Plumber’s Tape
Wrap the shower arm threads with plumber’s tape to create a tight, waterproof seal. Use Teflon-based plumber’s tape for best results. Begin wrapping at the base of the threads and work your way outward, overlapping slightly with each pass. Ensure the tape lies flat and smooth, avoiding any bunching or gaps. Typically, two to three layers of tape provide a secure seal and prevent leaks once the new shower head is installed.
Step 6: Attach the New Shower Head
Screw the new shower head onto the shower arm by hand, turning it clockwise until it is snug. If the shower head has a swivel or adjustable joint, ensure it is aligned in the desired position. Use a wrench or pliers to tighten the connection, but avoid over-tightening gently, as this could damage the fixtures. Turn on the water to check for leaks and adjust the shower head as needed. If any leaks are present, carefully tighten the connection slightly more or reapply plumber’s tape to the threads.
Step 7: Test the Water Flow
Turn on the shower and test the water flow to ensure the new shower head functions appropriately. Check for any irregular spray patterns, blockages, or inconsistent flow. If the water flow seems weak, detach the shower head and inspect it for any debris or obstructions in the nozzle. Clean as necessary and reattach. Once satisfied with the performance, wipe down the area to remove any water spots or debris, and enjoy your newly installed shower head!

Step 8: Perform Regular Maintenance
To keep your shower head functioning optimally, perform regular maintenance by cleaning it periodically. Over time, mineral deposits and buildup can clog the nozzles, affecting water flow. Remove the shower head every few months and soak it in warm water and vinegar for about 30 minutes to dissolve any deposits. Gently scrub the nozzles with a soft brush if necessary, then rinse thoroughly and reattach the shower head. Regular maintenance will help prolong its lifespan and ensure a consistent, enjoyable shower experience.
By following these simple steps, you can quickly raise the height of your shower head without the need for professional assistance.
5 Things You Should Avoid
- Using Unstable or Temporary Adjustments: Avoid using makeshift solutions like duct tape or loosely attached brackets. These can be unsafe and lead to the shower head falling, causing potential injury or damage.
- Ignoring the Structural Integrity of the Wall: Drilling or attaching without considering the strength of the wall material can lead to cracks or instability. Always ensure the surface can support the modifications.
- Neglecting Pipe Compatibility: Installing extensions or adapters that aren’t compatible with your existing plumbing can cause leaks or reduce water pressure, leading to unnecessary maintenance costs.
- Skipping Professional Advice When Needed: For complex installations or when dealing with older plumbing, skipping professional help could lead to costly mistakes. Ensure you consult an expert if you’re unsure.
- Choosing Low-Quality Materials: Using cheap or unreliable materials might save money upfront but often results in durability issues. Always invest in high-quality fittings and components to ensure long-term satisfaction.
Why is My Shower Head So Low?
If you’ve noticed that your shower head is not providing the same water pressure as it used to, there could be a few reasons for this. One common factor is mineral buildup or clogging in the shower head itself. This can restrict the water flow and make it feel like the pressure has decreased.
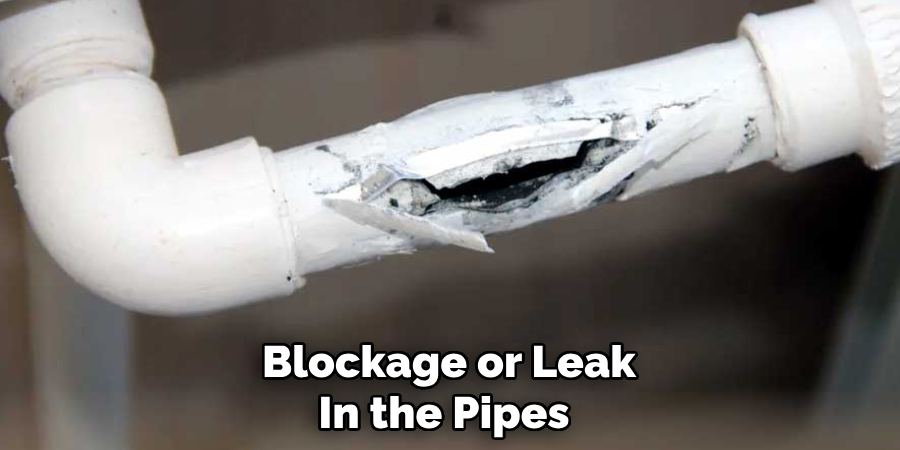
Another reason could be an issue with the plumbing system, such as a blockage or leak in the pipes leading to the shower. This can also lead to low water pressure and should be addressed by a professional plumber.
Sometimes, it could be due to using a low-quality or poorly designed shower head. Investing in a high-quality shower head specifically designed to provide good water pressure is essential.
If you’re experiencing consistently low water pressure in your shower, it’s best to consult a professional to identify and address the underlying cause. Ignoring the issue can lead to bigger problems down the line.
Conclusion
How to raise shower head height can greatly enhance your showering experience, especially for taller individuals.
To achieve this, you can consider a few simple solutions. One option is to install a shower head extension arm, which attaches to your existing plumbing and allows for an adjustable height. Another approach is to replace your current shower arm with an S-shaped or gooseneck arm, which naturally raises the height of the shower head. If you’re looking for a long-term solution, a plumber can help reconfigure the plumbing to position the shower head at a higher level.
Whichever method you choose, always ensure the equipment you use is sturdy and compatible with your shower setup to avoid future issues.

