
Platform shoes have long been a statement piece in the fashion world, loved for their bold designs and the dramatic height they provide. Characterized by their thick soles and elevated structure, platform shoes originated centuries ago and have made a comeback as a versatile accessory that complements various styles. Their popularity lies in their ability to add both flair and functionality, merging aesthetics with practicality.

Creating your own platform shoes offers an exciting opportunity for customization, allowing you to design footwear that aligns perfectly with your personal taste and comfort preferences. Whether you’re looking to experiment with bold colors, unique materials, or intricate patterns, the process enables full creative control.
This guide will walk you through how to make shoes platform, detailing the necessary materials, tools, and step-by-step instructions. By the end, you’ll have the knowledge and confidence to craft a pair of handmade shoes tailored just for you.
Understanding Platform Shoe Construction
What is a Platform Shoe?
A platform shoe is defined by its thick sole that elevates the wearer, providing additional height while retaining comfort and stability. Unlike traditional high heels, platform shoes maintain a relatively even incline between the heel and the toe, making them a more practical option for extended wear. These shoes are recognized not only for their functionality but also for their bold aesthetic appeal that transcends trends and eras.
History and Evolution of Platform Shoes
Platform shoes have a rich history, dating back to ancient civilizations such as Greece, where they were worn for both practical and fashion purposes. During the 15th century, chopines—a type of platform shoe—gained popularity in Europe as a status symbol.
Fast forward to the 1970s, platform shoes became synonymous with disco culture, with vibrant colors and avant-garde designs dominating the fashion scene. Today, they continue to evolve, blending nostalgic elements with modern trends to cater to diverse tastes.
Key Components of Platform Shoes
- Upper
The upper refers to the part of the shoe that covers and supports the foot. This can be crafted from materials like leather, suede, or fabric, allowing room for creative designs and embellishments.
- Platform Sole
The defining feature of platform shoes is that the sole adds height while offering balance and comfort. It can vary in thickness and is often constructed using rubber, cork, or wood.
- Heel (if applicable)
While some platform shoes have a flat sole, others may feature an additional heel for an extra layer of style and elevation. This combination of heel and platform creates unique silhouettes ideal for various occasions.
Materials and Tools You’ll Need
Materials
- Platform Material: Choose from cork, foam, wood, rubber, or EVA (Ethylene Vinyl Acetate) for the sole. Each material offers different benefits, such as weight or durability.
- Shoe Upper Material: Leather, fabric, or synthetic materials can be used to create the upper part of the shoe, providing comfort and style.
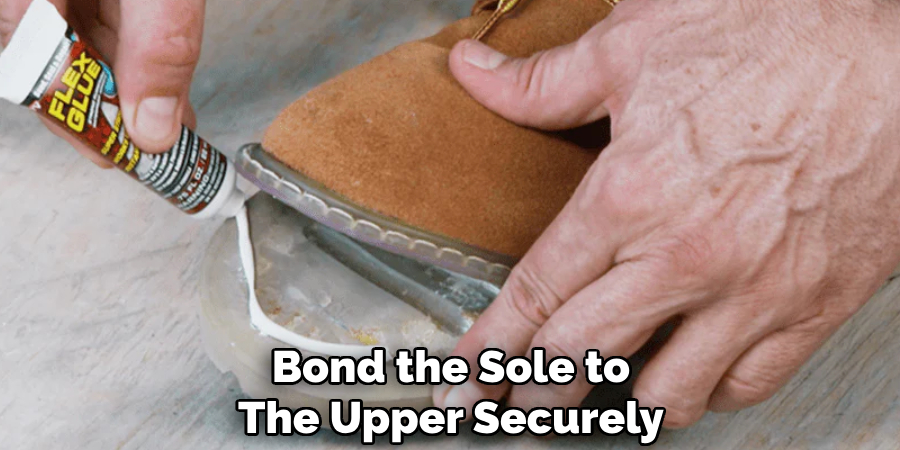
- Glue: Use a strong adhesive designed for footwear to bond the sole to the upper securely.
- Paint or Decorative Elements (optional): Add colors, patterns, or embellishments to customize your platform shoes.
Tools
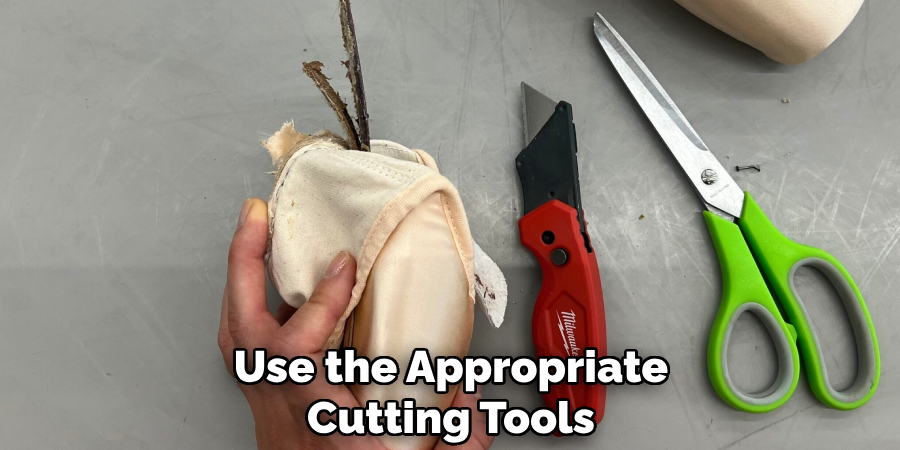
- Cutting Tools: Scissors, a craft knife, or a saw are necessary depending on the type and thickness of your platform material.
- Sandpaper: Smooth out edges and surfaces to ensure a polished and refined look.
- Measuring Tape and Ruler: Achieve precise measurements for a perfect fit and design balance.
- Shoe Sole Molds (optional): Use molds to shape the platform sole for consistency and ease in the crafting process.
Having the right materials and tools ensures that your platform shoes look great and are durable and functional for long-term use.
Designing Your Platform Shoes
Choosing the Right Style
The first step in creating your platform shoes is deciding on the overall style you want. Consider the height of the platform—do you want a bold, chunky look or a sleek, thinner base? The shape of the platform also plays a role in the design. A square-edged platform offers a modern vibe, while a curved shape adds a more delicate touch. Additionally, think about the design of the shoe upper.
Straps can give your shoes a contemporary, open look, while laces or slip-on designs can provide either a more classic or casual appearance. Your choices here will set the tone for the final look of your platform shoes.
Measuring Your Foot
To ensure a comfortable fit, take accurate measurements of your feet before beginning the crafting process. Start by measuring the length and width of your foot while standing to capture your natural stance dimensions. This is especially important for platform shoes, as the heightened sole can affect balance and overall comfort.
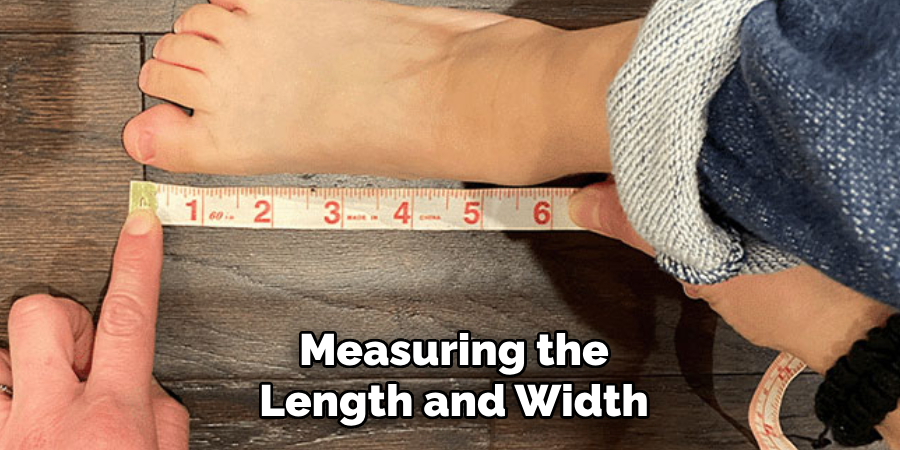
Additionally, consider how the platform height you’ve chosen will interact with the angle of your foot; higher platforms may require adjustments to keep your footwear comfortable and wearable.
Sketching Your Design
Once your measurements are ready and your style is chosen, draft a rough sketch of your platform shoes. Use these sketches to outline the dimensions of the sole and upper, incorporating details like embellishments, colors, or patterns. This step helps to visualize your creation and ensures you have a clear plan before moving forward in the crafting process.
How to Make Shoes Platform: Making the Platform Sole
Creating the platform sole is crucial in crafting your platform shoes, as it sets the foundation for style and functionality. Follow these steps to ensure a durable and well-made sole.
Cutting the Platform Material
Begin by selecting the material for your platform sole; options include wood, foam, or cork, depending on your desired look and weight. Measure and mark the material based on the dimensions outlined in your design sketches, taking into account the required thickness and shape. Use the appropriate cutting tools based on the material—such as a craft knife for foam, a hand saw for wood, or heavy-duty scissors for cork. Work carefully to achieve clean, precise cuts that match your original design.
Shaping the Sole
Once the platform material is cut, the next step is to refine its shape. Sand the edges of the sole using sandpaper or a sanding block to create a smooth, uniform finish. If your design includes a thicker platform, consider creating layers by stacking and adhering multiple pieces of material. Ensure each layer aligns properly and maintains the intended shape.
Attaching the Upper
Before attaching the upper material to the sole, prepare the surface of the platform by cleaning it thoroughly and lightly roughening the contact area to promote a strong bond. Apply a strong adhesive evenly to the platform and carefully press the upper material into place, ensuring all edges are aligned. Use clamps or apply weight to secure the pieces while the glue dries.
Drying and Reinforcing
Allow the adhesive to set and cure for several hours or as directed by the product instructions. Once dried, inspect the bond to ensure durability. For added strength, reinforce the attachment by stitching the upper material to the platform or applying additional adhesive along the edges. These steps will help create a sturdy, comfortable pair of platform shoes built to last.
Assembling the Shoe Upper
Cutting and Shaping the Upper
To assemble the shoe upper, carefully measure and cut the chosen material—be it leather, fabric, or a synthetic substitute—based on the shoe design and the wearer’s foot dimensions. Use a pattern or template to ensure accuracy, considering allowances for seams and adjustments. Once cut, shape the upper material to fit snugly over the foot’s contours and align seamlessly with the platform sole. This step ensures a proper fit and prevents discomfort when the shoes are worn.
Attaching Straps, Laces, or Fasteners
Add any functional or decorative elements such as straps, laces, or fasteners during this stage. These components not only enhance the style of the shoe but also provide adjustability and secure the fit. Attach them using sturdy stitching or adhesive, ensuring they are positioned symmetrically and securely. Take care to apply reinforcements in high-stress areas to avoid premature wear.
Sewing the Upper
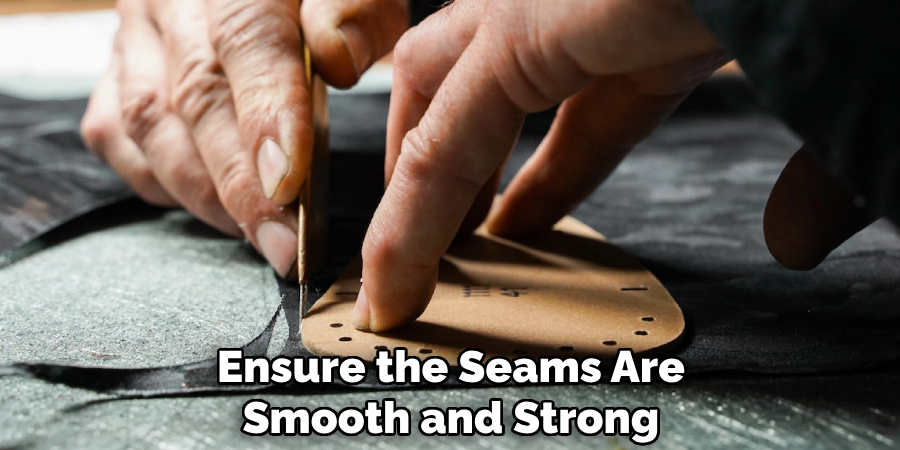
Once all pieces are in place, sew the upper material together. Use either a sewing machine designed for heavy-duty fabrics or hand-stitching techniques, depending on the material and design complexity. Ensure the seams are smooth and strong, focusing on durability and aesthetics. Precision in stitching will enhance both the appearance and strength of the finished shoe upper.
Finishing Touches and Customization
Adding Decorative Elements
Consider incorporating decorative elements such as studs, rhinestones, paint, or embroidery to give your shoes a personal flair. These embellishments can transform a simple design into a statement piece. Use high-quality adhesives or stitching to secure elements like studs and rhinestones, ensuring they remain affixed through regular wear. For embroidery, choose durable threads that complement the shoe’s material and design. This step lets you showcase your creativity and make your shoes uniquely yours.
Painting or Dyeing
Painting or dyeing the shoe upper and platform can create a cohesive and professional look. Use fabric paints or dyes designed explicitly for the material you’re customizing. Before application, clean the surface thoroughly and apply a primer if necessary. Use steady brushstrokes or even sprays for a smooth finish, letting each layer fully dry before adding another. Seal the paint or dye to protect it from wear and fading.
Cleaning and Polishing
Carefully clean any excess glue, dust, or paint smudges to give your customized shoes a polished, professional appearance. Use cleaning products appropriate for the material, such as leather conditioners or canvas cleaners. Once cleaned, polish the shoes to enhance their finish and ensure they’re ready to wear. This final step completes the process, making the shoes look refined and ready to make an impression.
Common Mistakes to Avoid
Incorrect Measurements
One of the most common mistakes in shoe customization is taking inaccurate measurements. Proper fit is crucial for both comfort and functionality. Ensure you measure the shoe dimensions and your feet carefully to avoid designs that might pinch, feel too loose, or cause discomfort. Precision in measurements affects not only how the shoe feels but also how it performs during regular wear.
Weak Adhesive
Using an adhesive that lacks strength can lead to premature wear and tear on your customized shoes. Low-quality glue may not securely bind materials, causing shoe parts to come apart over time. Always opt for high-strength adhesives designed for the specific materials you are working with, and allow sufficient drying time to ensure durability.
Not Accounting for Comfort
A well-designed shoe should not only look good but also feel comfortable. Neglecting comfort can result in a pair of visually stunning but impractical shoes. Always choose materials and designs that prioritize breathability, cushioning, and support to ensure the shoes are wearable for extended periods without causing pain or discomfort.
Conclusion
Creating your own platform shoes can be a rewarding experience when you follow the essential steps of selecting quality materials, refining your design, constructing a sturdy platform, and adding custom touches. This process allows you to bring your unique vision to life and creates a functional, personalized piece of footwear.
With patience and careful attention to detail, anyone can learn how to make shoes platform-style and enjoy the satisfaction of wearing something they created themselves. Whether for personal use or as a thoughtful gift, crafting your own shoes is a fun and fulfilling endeavor worth trying.

