
Making a DIY volcano is an exciting and educational science project that sparks curiosity and creativity. A favorite among students, parents, and teachers, it’s a hands-on way to learn about earth science and chemical reactions in a fun and interactive manner. This project simulates a volcanic eruption using everyday household materials, making it accessible and engaging for a wide audience.
This guide will take you through everything you need to know about how to make a DIY volcano. We’ll cover the essential materials you’ll need, detailed step-by-step instructions, the fascinating science behind the eruption process, and important safety tips to follow. Whether you’re preparing for a school project, a science fair, or simply exploring the wonders of science at home, this project promises both fun and learning in equal measure!
Understanding the Science Behind a DIY Volcano
Creating a DIY volcano isn’t just about having fun—it’s also a fascinating way to explore key scientific principles. From chemistry to geology, this project offers a hands-on opportunity to understand complex concepts engagingly and memorably.
Basic Chemical Reaction
At the heart of the DIY volcano eruption is the reaction between baking soda (a base) and vinegar (an acid). When these two substances combine, they produce carbon dioxide gas, which creates the characteristic foam and bubbling eruption. The rapid buildup of gas mimics the explosive forces seen in real volcanic activity, though on a much smaller and safer scale.
Real Volcano Connection
While a DIY volcano is a simple model, it demonstrates important processes that occur in real volcanic eruptions. Inside a real volcano, immense pressure builds up as magma and gases try to escape through the Earth’s crust. When this pressure becomes too great, it results in an eruption. Similarly, in the DIY volcano, carbon dioxide gas builds up and pushes the liquid out of the volcano’s “vent,” simulating the release of magma and volcanic gases.
Why It’s Educational
This activity is an excellent way to introduce children to geology and chemistry, making abstract concepts tangible and easy to understand. It also teaches key lessons about pressure dynamics and reactions in an exciting, visual format that captures learners’ curiosity.
Gathering Materials and Tools
Basic Materials Needed
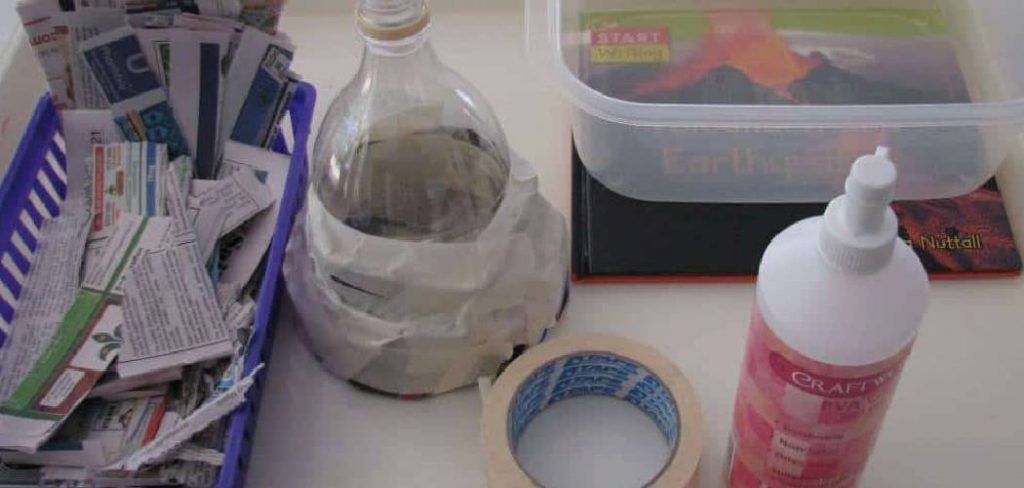
To create a DIY volcano, you’ll require the following everyday items:
- Baking Soda
- Vinegar
- Dish Soap
- Red Food Coloring
- Warm Water
These simple materials will combine to create the volcanic “eruption,” mimicking the chemical reactions found in real-world geology.
For the Volcano Structure
To build the structure of your volcano, gather:
- Plastic Bottle or Cup (to act as the core container for the reaction).
- Cardboard, Newspaper, Aluminum Foil, or Clay for shaping the outer shell of the volcano.
These materials allow for creativity while maintaining a sturdy framework for your volcano.
Optional Add-ons
For added flair and realism, consider including:
- Paint for a realistic or artistic look.
- Glue for securing components.
- Small figurines or trees to create a captivating scene around the volcano.
Tools
Finally, have these tools on hand to assist with preparation and assembly:
- Scissors for cutting materials.
- Mixing Spoons to stir mixtures.
- Measuring Cups to ensure accurate quantities.
Having all these materials and tools ready will set the stage for an exciting and educational activity.
How to Make a DIY Volcano: Building the Volcano Structure
Creating the Base
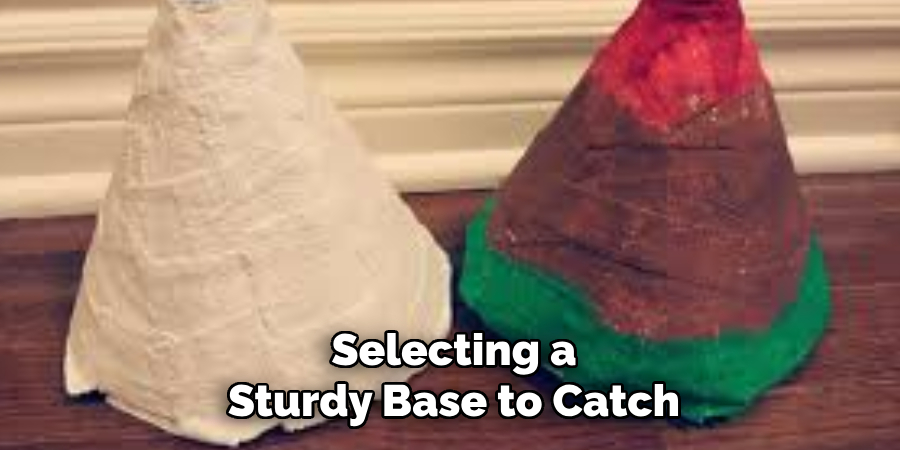
Start by selecting a sturdy base to catch any overflow during the eruption, such as a piece of cardboard or a shallow tray. This will not only keep your workspace clean but also make the entire project easier to manage. Secure the bottle or container that will serve as the volcano’s core firmly in the center of the base to ensure stability.
Shaping the Volcano
To create the iconic cone shape of the volcano, use crumpled newspaper or aluminum foil to wrap around the bottle or container. Be careful to shape it so that it has a wide base and gradually narrows toward the top, mimicking a real volcano. If you prefer, modeling clay or papier-mâché can be used as alternatives for shaping. When using papier-mâché, dip strips of paper into a glue-water mixture and layer them onto the frame.
This method can create a smoother surface that is ideal for painting later.
Finishing Touches
Once the volcano structure is shaped, it’s time to bring it to life with some creative finishing touches. Using paint, add details such as red and orange streaks to depict flowing lava or darker tones like gray and black to simulate ash. Feel free to add extra elements, such as small trees or rocks, to create a more realistic or artistic appearance. Allow the paint and any other decorations to dry completely before proceeding to ensure durability and the best possible effect.
Preparing the Eruption Ingredients
Creating an impressive volcanic eruption is all about using the right combination of ingredients. Follow the steps below to prepare everything needed for this exciting experiment.
Step-by-Step Mixing Instructions

- Begin by pouring baking soda into the volcano container. Use around 2–3 tablespoons for a moderate eruption, but feel free to adjust based on the size of your volcano.
- Add a few drops of dish soap into the container. This will enhance the foamy effect of the lava, making the eruption more dramatic.
- Mix several drops of red food coloring with vinegar in a separate cup. This will give the mixture a vibrant, lava-like appearance. You can adjust the amount of food coloring to achieve the desired intensity of color.
Other Add-ins for Dramatic Effect
- Glitter: A sprinkle of glitter can make the eruption more visually exciting and add a magical shimmer to the lava flow.
- Warm Water: Mixing warm water with the vinegar can help speed up the chemical reaction, resulting in a faster and more forceful eruption.
Measurement Tips
To achieve the optimal eruption, consider these ratios as a starting guide:
- 3 parts vinegar to 1 part baking soda.
- Add food coloring to achieve your desired intensity; typically, 5–10 drops work well.
- Dish soap is optional, but even a few drops can significantly improve the effect.
By preparing carefully and experimenting with these variations, you’ll create a show-stopping volcanic display sure to impress!
How to Erupt the DIY Volcano
Safety First
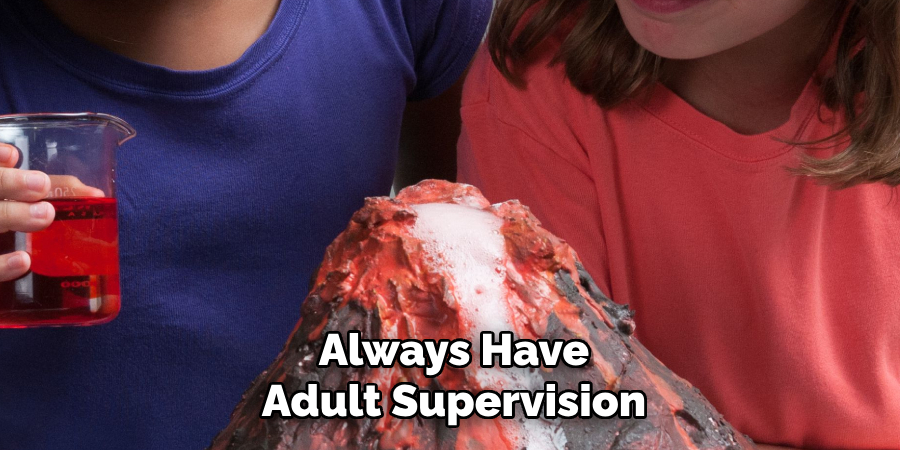
Before starting the eruption, ensure safety is a top priority. Always have adult supervision, especially when children are involved. If splashing is a concern, wear protective eyewear to shield your eyes. It’s best to perform the eruption outdoors or place the volcano on a protected surface, such as a large tray or tarp, to make cleanup easier.
Triggering the Reaction
Once your volcano structure is ready, it’s time to ignite the eruption! Slowly pour the prepared vinegar mixture into the container inside the volcano. Move back slightly and watch as the reaction begins, creating a foamy, lava-like eruption that flows down the sides of your volcano. Sit back and enjoy the mesmerizing display!
Cleanup Tips
After the reaction subsides, cleanup is straightforward. Gently scoop or wipe away any leftover baking soda residue using a damp cloth or sponge. For outdoor eruptions, a quick rinse with water can help. If you plan to reuse the volcano structure, ensure it’s scorched before storage. If discarding, do so responsibly by recycling parts, such as cardboard, whenever possible.
Creative Variations to Try
Color Variations
Enhance your volcano eruptions with bold and vibrant colors. Instead of the classic orange and red, try using blue or green food coloring to create an alien or underwater volcano theme. You can even mix colors to craft unique effects, like a molten lava look or an intergalactic glow.
Themed Volcano Models
Unleash your creativity by designing themed volcano models. Build a dinosaur volcano that resembles a prehistoric era, a space volcano adorned with stars for a cosmic vibe, or even an ice volcano covered in frosty white and silver to evoke a frozen world. Each theme adds a fun twist and makes your volcano truly one of a kind.
Alternative Reactants
Experiment with alternative reactants for new eruption styles. Use lemon juice for fizzier, citric acid-based reactions, hydrogen peroxide for a foamy burst, or yeast-based mixtures for a slow, bubbling flow. Each choice creates a distinct visual and chemical experience!
Troubleshooting Common Problems
Weak or No Eruption
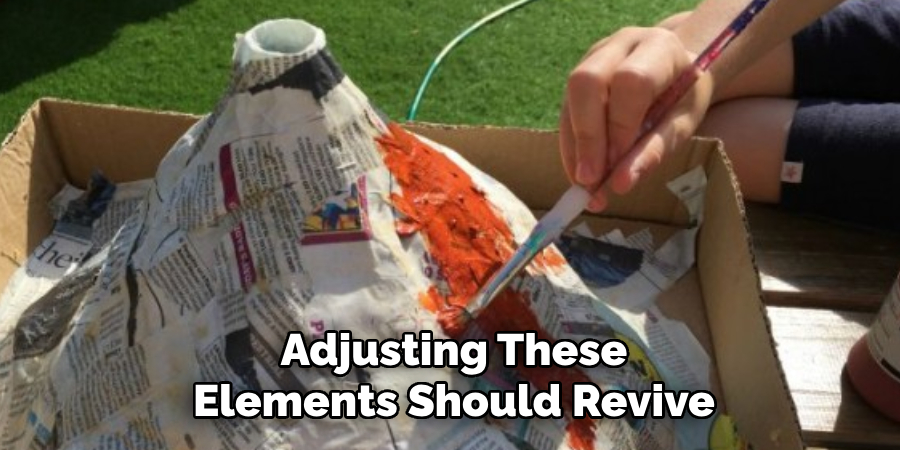
If your volcano’s eruption is weak or doesn’t occur, it might be due to a few common issues. Ensure you are using enough vinegar – too little can result in a lackluster reaction.
Similarly, confirm that your baking soda hasn’t expired, as old or clumped baking soda can reduce the chemical reaction. Additionally, double-check the ratios of your reactants. Using excessive amounts of one ingredient and insufficient amounts of the other can disrupt the eruption process. Adjusting these elements should revive your experiment.
Mess Management
Eruptions can be messy, but this can be easily managed. Place your volcano on a large tray or baking sheet to catch any liquid that may overflow. This not only makes cleanup quicker but also keeps the surrounding area tidy, allowing you to focus on the fun of the experiment.
Volcano Falling Apart
If your volcano starts to collapse during the experiment, reinforcing the structure can help. Use layers of aluminum foil or sturdy cardboard beneath or around your volcano to provide additional support. These simple fixes can ensure your volcano remains intact for future eruptions.
Conclusion
Building and erupting a DIY volcano is a fun and fascinating way to explore science at home. By following the steps on how to make a DIY volcano, you can create an engaging experiment that combines creativity, education, and excitement.
From crafting the structure to witnessing the eruption, this activity provides endless opportunities to learn about chemical reactions and geology. Don’t be afraid to get creative with your designs and experiment with different materials or techniques. Most importantly, enjoy the hands-on science adventure and inspire a love for learning through this memorable and interactive experience!

