
Are you tired of water spots ruining your favorite leather shoes? Look no further! Here are some simple tips and tricks on removing water spots from your leather shoes.
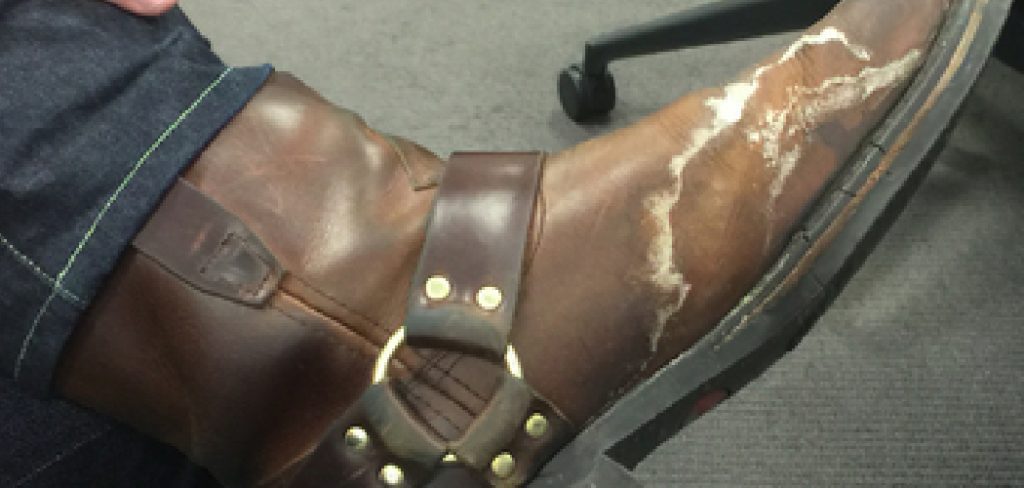
Water spots on leather shoes can be frustrating and detract from their appearance. Whether caused by unexpected rain or accidental splashes, these blemishes are often tricky to remove if not addressed properly. Thankfully, with the right techniques and a little care, you can restore your leather shoes to their original beauty.
This guide on how to get water spots out of leather shoes will walk you through simple, effective methods to get rid of water spots while preserving the quality and lifespan of your leather footwear. Let’s get started!
What Are the Causes of Water Spots on Leather Shoes?
Before we dive into the removal process, it’s essential to understand what causes water spots on leather shoes. These spots are usually caused by the mineral deposits left behind by hard water. When water evaporates from a surface, it leaves behind these minerals, which can build up and form stubborn spots on your leather shoes.
Water spots can also be caused by oils or other substances spilled onto the leather. These substances create a barrier between the leather and the natural oils in your skin, preventing proper absorption and leaving behind unsightly marks.
What Will You Need?
To effectively remove water spots from your leather shoes, you will need a few simple items:
- Clean cloth or sponge
- Distilled water
- White vinegar
- Olive oil or leather conditioner
- Soft-bristled brush (optional)
Once you have gathered these items, let’s move on to the removal process!
8 Easy Steps on How to Get Water Spots Out of Leather Shoes
Step 1: Wipe the Shoes Gently
Begin by taking a clean, dry cloth or sponge and gently wiping the surface of your leather shoes. This initial step is essential to remove any loose dirt, dust, or debris that may have accumulated. Be sure to use light pressure and smooth motions to avoid scratching or further damaging the leather. It’s critical to ensure the cloth or sponge is clean to prevent introducing new contaminants to the shoes.
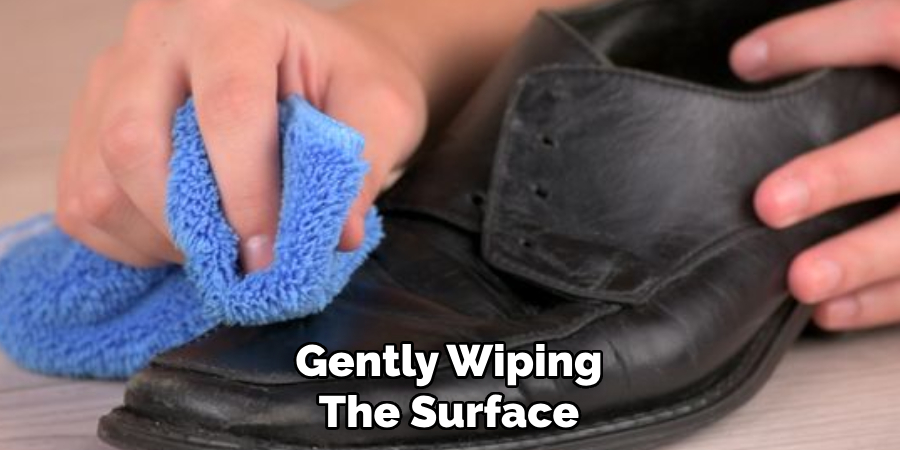
This step prepares the leather for cleaning by creating a clean surface for the next steps. Taking your time here will make the rest of the process more effective.
Step 2: Prepare a Cleaning Solution
Mix equal parts distilled water and white vinegar in a small container to create a gentle cleaning solution. The white vinegar helps break down the water spots without being too harsh on the leather. It’s important to use distilled water because tap water may contain minerals that could worsen the spots or damage the leather. Stir the solution thoroughly and ensure it’s well-blended before moving on to the next step. This solution will be applied carefully to target the water spots effectively.
Step 3: Apply the Cleaning Solution
Dip a clean, soft cloth or sponge into the prepared cleaning solution, ensuring it is damp but not overly saturated. Gently dab the affected areas with the solution, focusing on the water spots. Avoid rubbing too harshly, as this can damage the leather’s surface. Work in small circular motions to help lift the water stains. Once the spots are treated, allow the leather to air dry naturally. Do not use direct heat, as this can cause the leather to crack or warp.
Step 4: Condition the Leather
Once the leather has completely dried, apply a high-quality leather conditioner to restore its natural oils and maintain its suppleness. Use a soft, clean cloth to evenly spread the conditioner over the entire surface, paying special attention to the treated areas. This step helps protect the leather from future damage and enhances its appearance by giving it a smooth, polished finish.
After applying the conditioner, allow it to sit for the recommended time as instructed on the product label, and then gently buff the surface with a dry cloth for a final touch. Try to use a conditioner that is specifically designed for leather shoes for best results.
Step 5: Protect the Leather
After conditioning, it is essential to protect the leather to extend its lifespan and maintain its quality. Apply a leather protectant or waterproofing spray designed for your specific type of leather. This will create a barrier against moisture, stains, and dirt. Hold the spray bottle a few inches away from the leather surface and apply an even coating, ensuring full coverage without oversaturating.
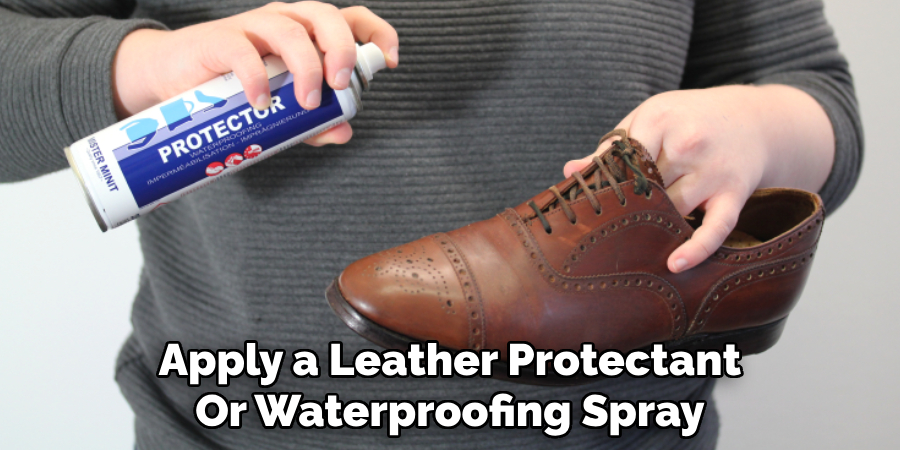
Allow the protectant to dry completely before using the leather item. Regular reapplication, as the product instructions recommend, will help preserve the leather’s durability and appearance over time.
Step 6: Store the Leather Properly
Proper storage is crucial to maintaining the condition of your leather items. Keep leather products in a cool, dry place away from direct sunlight or heat sources, as excessive heat can cause drying and cracking. Avoid storing leather in plastic or non-breathable materials, as this can trap moisture and lead to mold or mildew. Instead, opt for a breathable fabric cover or dust bag to protect the leather from dust and scratches while allowing adequate ventilation. If possible, maintain the item’s shape by using fillers or supports, especially for bags or shoes. Proper storage will ensure your leather stays in top condition for years.
Step 7: Handle Stains with Care
When dealing with stains on leather, it’s essential to act quickly and use the correct approach to avoid permanent damage. For light stains or spills, gently blot the area with a clean, dry cloth—do not rub, as this can push the stain deeper into the leather. For tougher stains, use a small amount of leather cleaner specifically designed for your type of leather. Test the product on an inconspicuous area first to ensure it does not discolor the material.
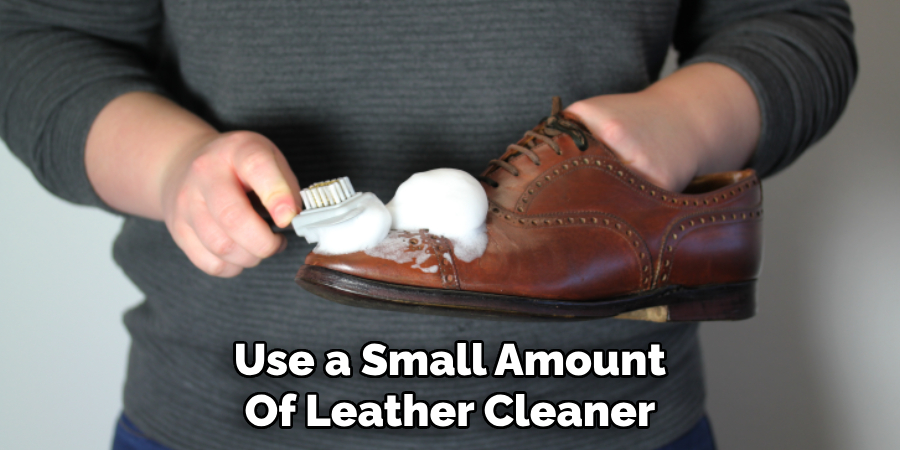
Apply the cleaner with a soft cloth, working in gentle circular motions, and then wipe away any residue with a fresh cloth. For persistent or severe stains, consult a professional leather care specialist to ensure the proper treatment. Handling stains promptly and carefully will keep your leather looking flawless. If discoloration or damage occurs, it’s best to seek professional help.
Step 8: Protect Your Leather from Sunlight and Heat
Prolonged exposure to direct sunlight or excessive heat can cause leather to fade, dry out, or crack. To preserve its quality, store your leather items in a cool, shaded area away from windows or heat sources like radiators. If your leather goods are regularly exposed to sunlight, consider using a leather-specific UV protectant to shield them from damage. Regular care and mindful placement will help maintain the leather’s texture, color, and longevity.
By following these simple steps, you can keep your leather shoes looking clean and vibrant for years.
5 Things You Should Avoid
- Using Excess Water: Avoid using excessive water when removing water spots. Over-saturating the leather can damage its structure and worsen the problem by causing further discoloration or water stains.
- Applying Harsh Chemicals: Avoid harsh cleaning agents like bleach, ammonia, or alcohol-based products. These can strip the natural oils from the leather, leading to dryness, cracking, and irreversible damage.
- Scrubbing Aggressively: Refrain from washing the leather vigorously to remove stains. Aggressive treatment can scratch or tear the delicate surface, leaving permanent marks.
- Using Heat to Dry the Leather: Avoid using hairdryers, radiators, or direct sunlight to speed up the drying process. Intense heat can cause the leather to shrink, warp, or crack, compromising its quality and appearance.
- Ignoring Conditioning After Cleaning: Failing to condition your leather shoes after stain removal can leave them dry and vulnerable. Always use a leather conditioner to replenish lost moisture and restore suppleness post-cleaning.
By avoiding these common mistakes, you can maintain the beauty and durability of your leather shoes for years.
Does Water Permanently Damage Leather?
Water can cause significant damage to leather if not addressed promptly and correctly. Undried water spots may leave permanent marks, discoloration, or even mold growth on the material. Exposing leather to excessive moisture for an extended period can also lead to irreversible damage like shrinking, warping, or cracking. Treating water stains immediately and taking preventive measures to protect your leather from future water damage is essential.
However, with proper care and maintenance, you can quickly restore your leather shoes’ quality and appearance after encountering water exposure. So don’t let a little rain ruin your favorite pair of leather shoes – follow these tips and keep them looking as good as new!
Conclusion
How to get water spots out of leather shoes requires both prompt action and the right techniques.
Begin by gently blotting the affected area with a soft, dry cloth to absorb moisture without rubbing. For stubborn stains, use a damp cloth to carefully blend the spot into the surrounding leather, ensuring not to over-saturate the material. Following any cleaning process, apply a leather conditioner to restore moisture and prevent cracking. Prevention is equally important, so consider using a water-repellent spray to shield your leather shoes from future damage.
By consistently caring for your leather footwear, you can ensure they remain in excellent condition for years.
About
Jennifer Branett is a distinguished figure in the world of Diy design, with a decade of expertise creating innovative and sustainable Diy solutions. His professional focus lies in merging traditional craftsmanship with modern manufacturing techniques, fostering designs that are both practical and environmentally conscious. As the author of diy, Jennifer delves into the art and science of furniture-making, inspiring artisans and industry professionals alike.
Education RMIT University
(Melbourne, Australia) Associate Degree in Design (Jennifer Branett) Focus on sustainable design, industry-driven projects, and practical craftsmanship. Gained hands-on experience with traditional and digital manufacturing tools, such as CAD and CNC software.
Nottingham Trent University
(United Kingdom) Bachelor’s in diyfastly.com and Product Design (Honors) Specialized in product design with a focus on blending creativity with production techniques. Participated in industry projects, working with companies like John Lewis and Vitsoe to gain real-world insights.
Publications and Impact
In diy, Jennifer Branett his insights on indoor design processes, materials, and strategies for efficient production. His writing bridges the gap between artisan knowledge and modern industry needs, making it a must-read for both budding designers and seasoned professionals.

