
Creating your own snow globe is a fun and simple craft project that allows you to add a personal touch to your holiday decorations or gifts. With just a few materials and some creativity, you can design a unique miniature winter wonderland that captures the joy and magic of the season. This guide will walk you through the steps of how to diy snow globe at home, perfect for spreading festive cheer.

The Charm of Homemade Snow Globes
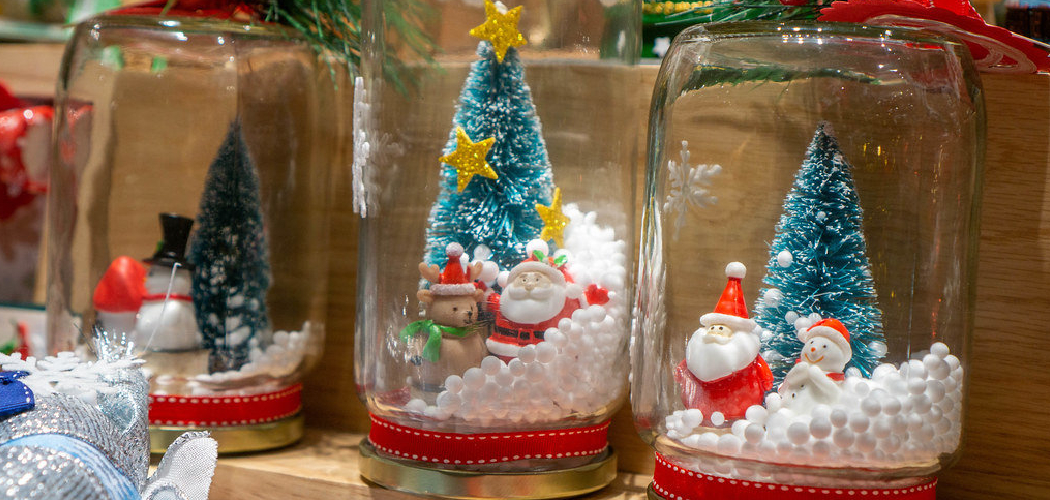
Homemade snow globes hold a special charm that store-bought versions simply can’t replicate. Each one is a personalized creation, reflecting the maker’s imagination and care. Whether it’s a cozy cabin, a cheerful snowman, or a festive tree, every design tells its own story. Beyond their decorative appeal, these handcrafted globes evoke warmth and nostalgia, making them cherished keepsakes or heartfelt gifts for loved ones.
The effort and thought put into creating a snow globe transform it into more than just a decoration—it becomes a symbol of the joy and magic of the holiday season.
What’s Inside a Snow Globe?
The interior of a snow globe is what brings its enchanting scene to life. At its core, a carefully chosen centerpiece, such as a miniature tree, house, or character, serves as the focal point. This centerpiece is often crafted from durable materials like plastic or resin to withstand the liquid environment. Surrounding the centerpiece is a clear liquid, usually water combined with a small amount of glycerin or baby oil, which allows the “snow” to fall slowly and gracefully when the globe is shaken.
The snow itself is typically made of glitter, faux snowflakes, or even small beads, adding a magical touch to the scene. Together, these elements create a tiny, serene world, capturing the spirit of the season within a glass dome.
Materials You’ll Need
To create your own snow globe, you will need a few simple materials that are easy to gather. Here’s what you’ll need to get started:
- A clear glass or plastic jar – This will serve as the globe. Mason jars or old spice jars work perfectly.
- A miniature decorative centerpiece – Choose a figure or object such as a snowman, tree, or house to display inside your snow globe.
- Water-resistant glue – Strong adhesive, like epoxy glue, is essential for securing your centerpiece in place.
- Distilled water – This helps keep the globe clear and prevents impurities that may cloud the water over time.
- Glycerin or baby oil – A few drops added to the water will make the “snow” fall more slowly.
- Glitter or faux snowflakes – These will act as the shimmering “snow” in your globe.
- Optional decorations – Ribbons, paint, or stickers to personalize the outside of your globe.
With these materials on hand, you’re ready to bring your snowy vision to life!
10 Methods How to Diy Snow Globe
1. Traditional Water and Glycerin Snow Globe
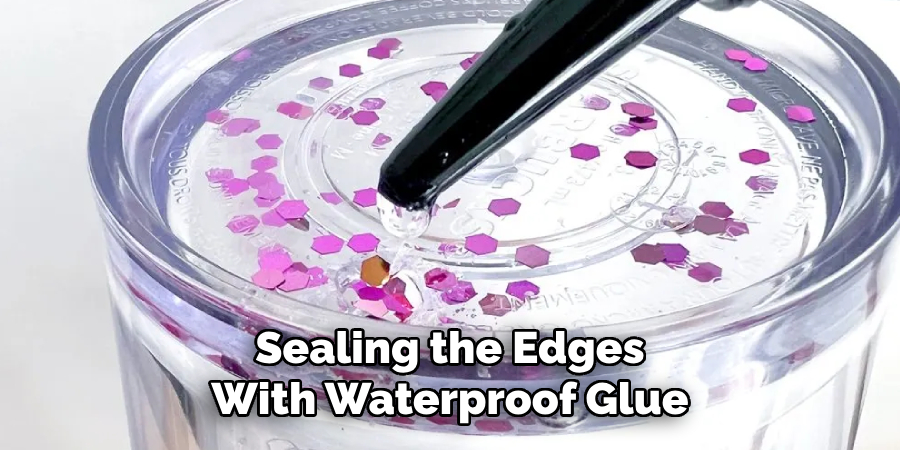
The most classic way to make a snow globe involves water and glycerin, which slows down the falling glitter to mimic real snowfall. Start with a clean, airtight jar, such as a mason jar or baby food jar. Choose a small waterproof figurine and glue it to the inside of the lid using strong epoxy glue. Fill the jar almost to the top with distilled water, add a few drops of glycerin, and sprinkle in glitter. Screw the lid tightly, sealing the edges with waterproof glue. Shake and enjoy your snowy scene!
2. Baby Oil Snow Globe
Instead of using water and glycerin, you can use baby oil for a different visual effect. Baby oil is thicker and slows down the falling glitter, creating a mesmerizing snowfall. Follow the same steps as the traditional method, but replace the water with baby oil. This method creates a smoother, more elegant flow of snow, making it ideal for a sophisticated display.
3. Glue and Water Snow Globe
For a homemade alternative to glycerin, use clear school glue mixed with water. The glue thickens the liquid slightly, making the glitter fall more slowly. Mix about one part glue to three parts water, then follow the same steps as the traditional method. This method is great for those who don’t have access to glycerin but still want a slow-falling snow effect.
4. Dry Snow Globe with Cotton or Styrofoam Beads
If you prefer to avoid liquids altogether, a dry snow globe is a great option. Instead of filling the jar with water, use small white Styrofoam beads, cotton, or fake snow. Place your figurine inside, seal the lid, and shake for a snowstorm effect without worrying about leaks. This method is especially good for younger children since it eliminates the risk of spills.
5. Resin Snow Globe
For a long-lasting and artistic alternative, use clear resin instead of water. Mix and pour resin into the jar, adding glitter and small snow-like pieces before it fully hardens. This creates a beautiful snow globe that doesn’t require shaking. The resin preserves the design, making it a great keepsake or gift idea.
6. Glitter and Corn Syrup Snow Globe
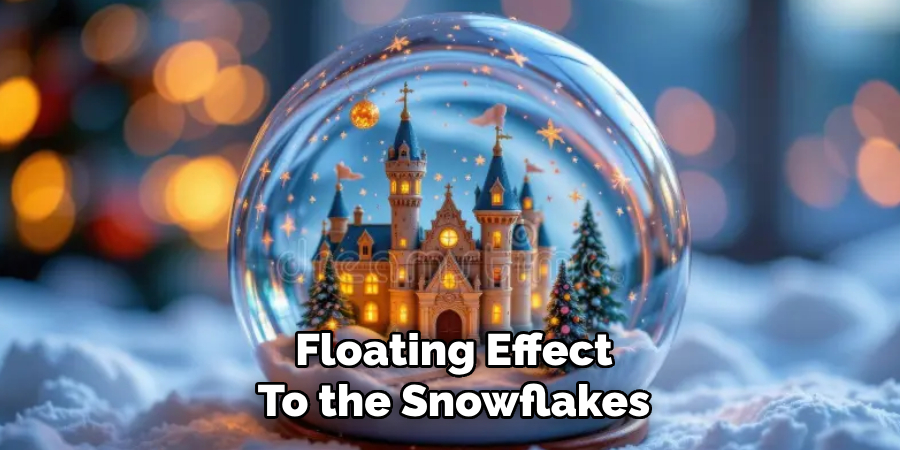
Corn syrup is another alternative to water and glycerin, creating a thicker liquid that makes the snow fall slower. Follow the traditional method, but substitute the liquid with a mix of distilled water and corn syrup. The viscosity of the corn syrup adds a dreamy, floating effect to the snowflakes.
7. Ornament-Based Snow Globe
Instead of using a jar, you can make a snow globe using a clear plastic or glass ornament. Fill the ornament with fake snow, glitter, or tiny figurines, then seal it shut. These miniature snow globes make wonderful Christmas tree decorations or small gifts. You can also add a small amount of liquid if you want the traditional snow globe effect.
8. Salt and Rice Dry Snow Globe
For a natural and budget-friendly approach, use a combination of salt and uncooked rice to create a snow-like effect. Fill your jar with these dry ingredients along with small winter-themed decorations. This method provides a rustic and farmhouse-style charm without using glitter or artificial snow.
9. Edible Snow Globe
For a fun and festive treat, create an edible snow globe using a clear gelatin dome. Place a small holiday-themed candy or fondant figurine inside a hardened gelatin shell, then dust with powdered sugar for a snowy effect. This is a unique and creative way to enjoy a snow globe in a completely edible format, perfect for holiday parties.
10. Upside-Down Wine Glass Snow Globe
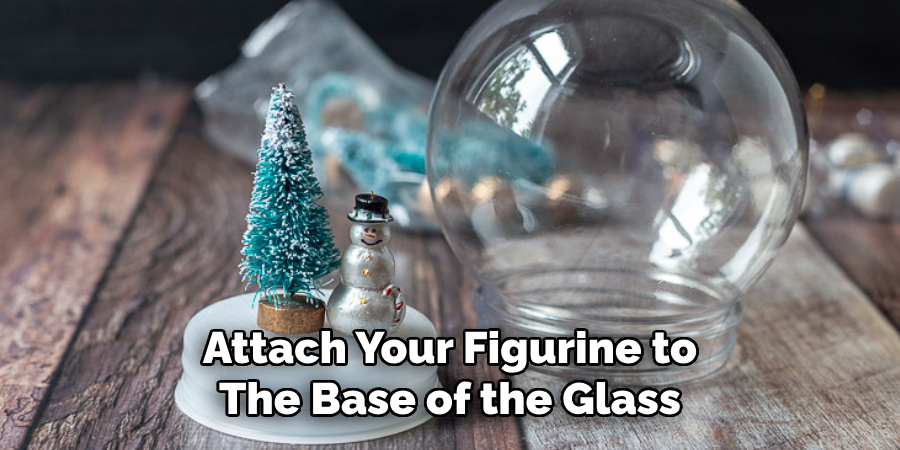
Instead of using a jar, flip a wine glass upside-down to create a decorative snow globe. Attach your figurine to the base of the glass, add fake snow or glitter, then carefully glue a circular base on top to seal it. This elegant variation works well as a centerpiece or holiday table decoration.
Things to Consider When Making Your Snow Globe
Before starting your snow globe project, there are several factors to keep in mind to ensure your creation turns out beautifully and lasts for years to come:
- Choose the Right Materials: Select a jar or container that seals tightly to prevent leaks. Ensure that the figurine and decorations you use are waterproof and durable to withstand movement and exposure to liquid (if applicable).
- Test Your Glue: Using a strong, waterproof adhesive is crucial for securing the figurine and decorations. Test your glue on a small object first to make sure it creates a strong bond and doesn’t weaken in water.
- Mind the Liquid Level: If your snow globe involves liquid, avoid overfilling the jar. Leave a small air gap to account for the displacement caused by the lid and decorations, preventing overflow.
- Use Distilled Water: When using liquid in your snow globe, opt for distilled water to minimize clouding over time. Tap water may contain minerals and impurities that can affect the clarity of the globe.
- Glitter Choice Matters: Choose heavier glitter or faux snowflakes that will sink steadily rather than float indefinitely, mimicking the effect of real snowfall. Avoid fine glitter that might clump or settle too quickly.
- Seal Properly: Ensure the lid or base is sealed tightly with waterproof glue to prevent leaks. Double-check for any gaps or weak spots before completing the snow globe.
- Personalization: Consider the theme and style of your snow globe to make it unique. Adding hand-painted details, ribbons, or personal touches can elevate the overall design.
- Safety First: If children are involved in the project, monitor the use of small parts, liquids, and adhesives to ensure a safe crafting experience.
By keeping these considerations in mind, you can craft a snow globe that is both delightful and durable, bringing seasonal joy to your home or as a thoughtful gift for someone special.
Conclusion
Creating your own snow globe is a rewarding and enjoyable craft that allows you to express your creativity while producing a unique decoration or gift. With a variety of methods and materials to choose from, you can tailor the design to suit your preferences, skill level, and available resources. Whether you opt for a traditional water-filled globe, a dry variation, or an imaginative edible version, the possibilities are endless. Thanks for reading, and we hope this has given you some inspiration on how to diy snow globe!