
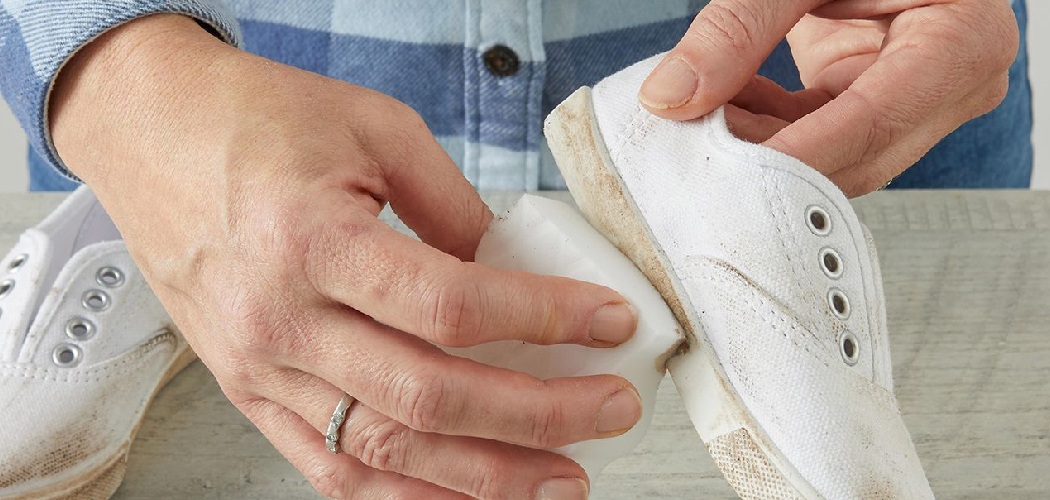
Are you tired of dirty, grimy shoe soles ruining the look of your favorite sneakers? Look no further than baking soda to get those soles looking brand new again.

Keeping shoe soles clean is essential not only for maintaining their appearance but also for hygiene and longevity. Over time, dirt, grime, and stains can build up on the soles of your shoes, making them look worn and unattractive. One practical and affordable solution for removing these stubborn stains is using baking soda. Known for its natural cleaning and deodorizing properties, baking soda is a simple household item that can bring your shoe soles back to life.
This guide on how to clean shoe soles with baking soda will walk you through the steps to effectively clean your shoe soles with baking soda, leaving them looking fresh and renewed.
What Are the Benefits of Using Baking Soda to Clean Shoe Soles?
Before we dive into the steps, let’s explore some of the many benefits of using baking soda to clean shoe soles:
- Natural and Non-toxic: Unlike harsh chemicals in some commercial cleaning products, baking soda is a natural and safe option for cleaning shoe soles. It is also environmentally friendly.
- Affordable: Baking soda is a budget-friendly option for those looking to clean their shoe soles without breaking the bank.
- Effective Stain Remover: Baking soda has powerful properties that penetrate the sole material, effectively removing tough stains and dirt.
- Deodorizing Agent: Not only does baking soda clean your shoe soles, but it also helps neutralize any unpleasant odors accumulated over time.
What Will You Need?
To get started, you will need a few basic supplies:
- Baking soda
- Water
- A scrub brush or toothbrush
- A bowl or container for mixing the solution
- A clean cloth or paper towel
Once you have these supplies ready, you can begin cleaning your shoe soles with baking soda.
8 Easy Steps on How to Clean Shoe Soles With Baking Soda
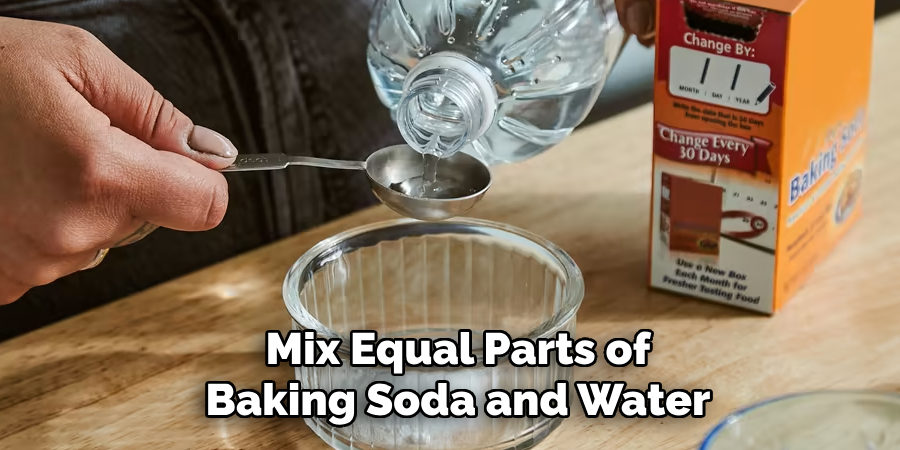
Step 1. Prepare the Baking Soda Mixture
Begin by creating the cleaning solution. Mix equal parts of baking soda and water in a bowl or container until it forms a smooth paste. You can adjust the proportions slightly, but the consistency should be thick enough to stick to the surface of your shoe soles without dripping. If you prefer a more potent cleaning mixture, add a few drops of white vinegar, enhancing baking soda’s cleaning power. Ensure the solution is well-mixed before proceeding to the next step.

Step 2. Apply the Mixture to the Shoe Soles
Scoop a generous amount of baking soda paste onto the bristles using a scrub brush or toothbrush. Gently apply the mixture onto the shoe soles, focusing on areas with visible dirt, stains, or discoloration. Make sure to cover the entire surface evenly, working the paste into textured grooves and regions for a more thorough clean.
Step 3. Scrub and Clean the Soles
Once the baking soda mixture has been evenly applied, use the scrub brush or toothbrush to scrub the soles of your shoes firmly. Focus on areas with heavy stains or accumulated dirt, applying extra pressure to loosen stubborn grime. Make circular motions as you work to ensure the paste penetrates deeply into textured or grooved areas.
For particularly tough spots, allow the mixture to sit on the surface for 5-10 minutes before scrubbing again. This waiting period allows the baking soda and vinegar mixture to break down dirt and stains effectively. After scrubbing, wipe away the mixture with a clean, damp cloth or under running water, ensuring all residue is removed. Repeat the process if necessary for more extensive cleaning.
Step 4. Dry and Inspect the Shoes
After thoroughly rinsing the soles, use a clean, dry towel to pat them dry and remove any excess moisture. Place the shoes in a well-ventilated area away from direct sunlight to prevent discoloration or damage caused by excessive heat.
Allow the boots to air dry thoroughly, which may take several hours depending on the material. Once dry, inspect the soles to ensure all dirt and stains have been removed. If any spots remain, repeat the cleaning process as needed. Proper drying is essential to maintain the quality and extend the lifespan of your shoes.
Step 5. Apply a Protective Coating
Once the soles are fully clean and dry, consider applying a protective coating to keep them in good condition for longer. Use a suitable sole protector or water-resistant spray designed for the material of your shoes. Apply the coating evenly, following the product instructions, and allow it to fully cure before wearing the shoes. This step helps repel dirt, water, and other stains, making future cleaning easier and prolonging the life of your footwear.
Step 6. Store Your Shoes Properly
Proper storage is crucial to maintain the condition of your shoes and prevent unnecessary wear. Store your shoes in a cool, dry place away from direct sunlight or extreme temperatures. Use a shoe rack, box, or cloth bag to protect them from dust and potential damage. For shoes not frequently worn, consider inserting shoe trees or stuffing the insides with acid-free tissue paper to retain their shape. Following these storage practices ensures your boots stay in excellent condition over time.
Step 7. Rotate Your Shoes Regularly
Wearing the same pair of shoes daily can lead to quicker wear and tear. To extend the lifespan of your footwear, rotate between multiple pairs regularly. This gives each pair enough time to air out and recover from the pressure and moisture of daily use. A proper rotation system helps keep your shoes in better condition and supports foot comfort by varying how pressure is distributed.
Step 8. Clean Your Shoes Properly
Regular cleaning is essential to maintain the appearance and durability of your shoes. Use appropriate cleaning methods based on the material of your footwear.
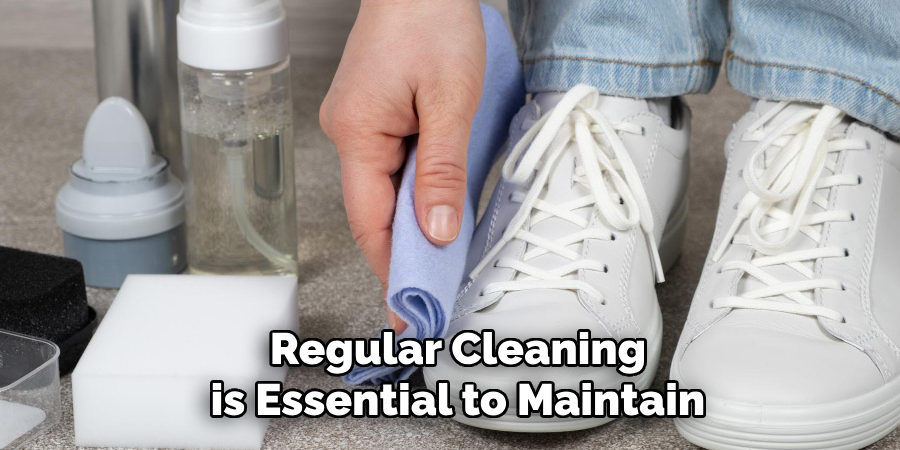
Use a soft cloth, leather cleaner, and conditioner for leather shoes to keep them supple and free from cracks. Suede shoes require a suede brush to remove dirt and revive the texture. A mild detergent and soft brush work well for fabric or canvas shoes. Always allow your shoes to dry naturally at room temperature, avoiding direct heat sources that could damage the material. Proper cleaning ensures your shoes look their best and last longer.
By following these eight easy steps, you can clean your shoe soles with baking soda and keep your shoes looking fresh and new.
5 Things You Should Avoid
- Using Too Much Baking Soda: Excessive baking soda can be abrasive and may damage the material of the shoe soles. Stick to a small amount and mix it with water for a gentle cleaning solution.
- Skipping the Rinse Step: Failing to rinse off the baking soda properly can leave a residue, which might cause the soles to look dull or attract dirt more easily.
- Applying Baking Soda Directly to Dry Soles: Mix baking soda with water or another liquid to form a paste. Applying it dry can scratch the surface of the soles and reduce their longevity.
- Using Baking Soda on Delicate or Colored Soles: Baking soda can sometimes cause discoloration or damage to delicate or colored materials. Test a small, inconspicuous area before proceeding.
- Scrubbing Aggressively: Avoid using excessive force or harsh brushes when cleaning with baking soda. Gentle circular motions will get the job done without harming the soles.
How to Keep White Shoes White?
White shoes can be a stylish and versatile addition to any wardrobe, but they also require extra care and maintenance to keep them looking bright and clean. Here are some tips on how to keep your white shoes white:
- Pre-treat Stains: As soon as you notice a stain on your white shoes, acting quickly is essential. Use a mild detergent or stain remover designed for shoes and gently dab the affected area with a clean cloth.
- Avoid Wearing in Wet or Dirty Conditions: Wet or muddy conditions can easily ruin the appearance of white shoes. Avoid wearing them in these situations whenever possible and opt for darker-colored shoes instead.
- Regularly Clean Your Shoes: Make it a habit to periodically clean your white shoes, even if they don’t look filthy. This will prevent dirt and debris from building up and help maintain their bright appearance.
- Store Properly: When not in use, store your white shoes in a cool, dry place away from direct sunlight. Exposure to heat or sunlight can cause the material to yellow or fade.
- Use a Protective Spray: Consider using a protective spray designed for white shoes to create a barrier against dirt and stains. Just follow the instructions carefully and test on a small area first.
- Spot Clean as Needed: If you notice any more minor stains or marks on your white shoes, spot clean them immediately with a damp cloth and mild detergent. This will prevent the stains from setting in and becoming more challenging to remove.
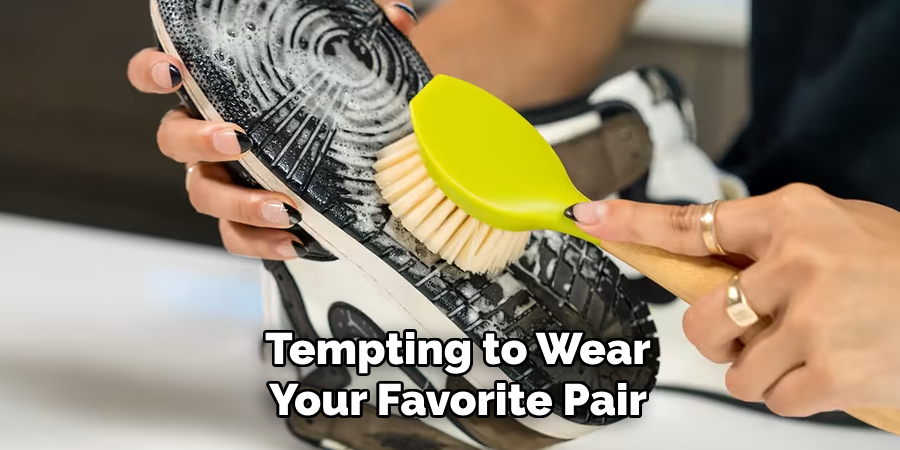
- Avoid Wearing White Shoes Every Day: While it may be tempting to wear your favorite pair of white shoes every day, this can cause them to become dirty and worn out quickly. Rotate between different pairs of shoes to help prolong their lifespan.
By following these tips, you can keep your white shoes looking bright and clean for more extended periods of time.
Conclusion
How to clean shoe soles with baking soda is an effective, simple, and cost-efficient method to restore their appearance.
Combining baking soda with a little water or vinegar can create a powerful paste that helps break down dirt, stains, and grime. Using a brush or cloth to scrub the soles gently ensures thorough cleaning without damaging the material. Regular maintenance with this approach keeps your shoes looking fresh and extends their lifespan. Baking soda also acts as a deodorizer, leaving your shoes smelling clean and fresh.
With consistency and care, this method can be a reliable solution for maintaining spotless shoe soles.