
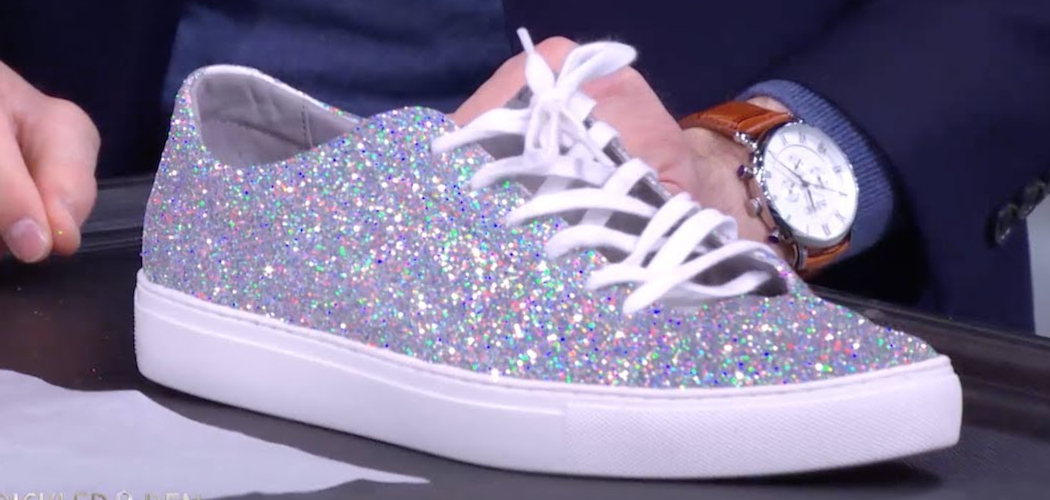
Transforming a plain pair of shoes into a dazzling, glittery masterpiece is a fun and creative DIY project. Not only is it simple to do, but it’s also a great way to upcycle old footwear and give them a brand-new look. This guide explores the key aspects of how to diy glitter shoes. Whether you’re looking to make a bold fashion statement or add a touch of sparkle for a special occasion, DIY glitter shoes are the perfect craft project for anyone who loves a little extra shine.

Why Make DIY Glitter Shoes?
Making DIY glitter shoes is an excellent way to express your creativity and add a unique flair to your wardrobe. Instead of buying expensive, pre-glittered shoes, you can customize your own to match your personal style, favorite colors, or a specific outfit.
This project is also a sustainable choice, as it allows you to breathe new life into an old or worn-out pair of shoes rather than discarding them. Plus, the process is both enjoyable and rewarding, giving you a sense of accomplishment as you transform something ordinary into something truly spectacular. Crafting DIY glitter shoes is not only cost-effective but also an opportunity to showcase your individuality and make a one-of-a-kind fashion statement.
Materials You’ll Need
To get started on your DIY glitter shoes, make sure you have the following materials on hand:
- A pair of Shoes – Any style of shoes will work, but a plain surface (like canvas or faux leather) is easiest to work with.
- Glitter – Choose your favorite color or mix multiple colors for a unique effect.
- Mod Podge or Craft Glue – This will act as the adhesive for the glitter.
- Paintbrush or Foam Crush – To help evenly apply the glue.
- Clear Sealant Spray – To lock in the glitter and protect it from flaking.
- Painter’s Tape – To mask off any areas you don’t want to cover in glitter.
- Newspaper or a Drop Cloth – To protect your workspace from glue and glitter.
- Small Bowl or Container – Optional, for mixing glitter with glue if desired.
With these materials, you’re ready to begin creating your dazzling DIY glitter shoes!
10 Methods How to Diy Glitter Shoes
1. Mod Podge and Glitter Application
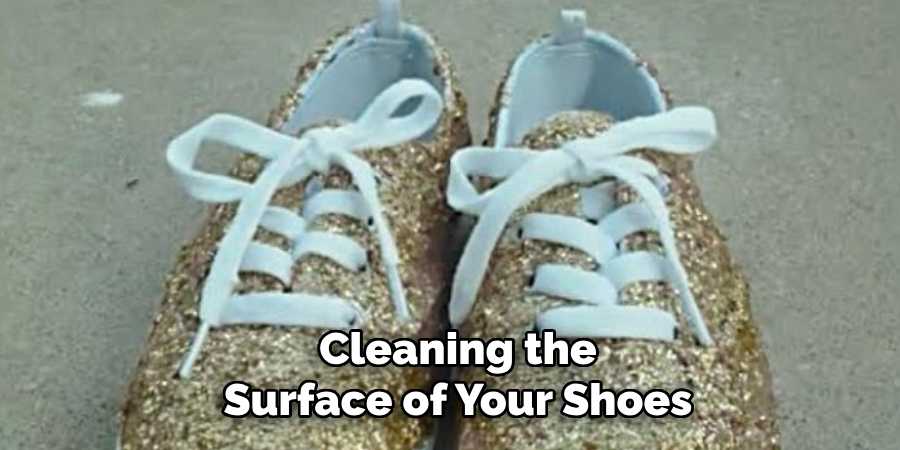
One of the easiest and most effective methods for creating glitter shoes is using Mod Podge and loose glitter. Begin by cleaning the surface of your shoes to ensure proper adhesion.
Use painter’s tape to mask off areas you don’t want to cover with glitter, such as the soles or any embellishments. Apply a thin, even coat of Mod Podge using a paintbrush, working in small sections to prevent drying before the glitter is applied. Sprinkle fine glitter generously over the wet Mod Podge, ensuring complete coverage. Allow the first layer to dry, then repeat the process for a more opaque finish. Once satisfied with the coverage, seal the glitter with another coat of Mod Podge or a clear spray sealant to prevent flaking.
2. Spray Adhesive Method
For those looking for an even application with less mess, spray adhesive is an excellent alternative. This method is ideal for covering large surface areas quickly. Start by protecting areas that should remain glitter-free with masking tape or plastic wrap. Holding the can of spray adhesive about 6 inches away, evenly coat one section of the shoe at a time.
Immediately sprinkle the glitter onto the adhesive before it dries. Continue this process until the entire surface is covered. Shake off the excess glitter and let it set for at least an hour. To ensure longevity and prevent shedding, apply a clear topcoat using a sealant spray.
3. Glitter Fabric Paint Technique
Using glitter fabric paint is a mess-free way to add sparkle to shoes without worrying about shedding. Fabric paint already contains a binding agent, eliminating the need for separate adhesives. Clean the shoes thoroughly and apply painter’s tape where needed.
Using a fine brush or sponge, apply the glitter fabric paint in even strokes. It may take multiple layers to achieve full opacity, allowing each coat to dry before applying the next. Unlike loose glitter, fabric paint stays flexible and doesn’t crack, making it ideal for canvas or fabric shoes. Once fully dry, the shoes will have a smooth, sealed glitter finish with no risk of fallout.
4. Epoxy Resin Coating
For a long-lasting, high-gloss glitter finish, epoxy resin is a fantastic choice. This method is perfect for shoes that will be exposed to heavy wear or moisture. Begin by preparing the shoes with masking tape to protect unwanted areas. Mix the epoxy resin according to the manufacturer’s instructions, then add a generous amount of glitter into the mixture.

Using a paintbrush, apply an even layer of the resin-glitter mixture to the shoes. The resin will level itself out, creating a glass-like effect. Allow the shoes to cure for at least 24 hours in a dust-free environment. Once fully hardened, the shoes will have a smooth, ultra-durable finish with vibrant, encapsulated glitter.
5. Glitter and Fabric Glue Mix
This method is similar to the Mod Podge technique but uses fabric glue, which remains flexible and prevents cracking. In a disposable container, mix loose glitter with fabric glue to create a thick paste. Apply this mixture evenly onto the shoe’s surface using a sponge or paintbrush.
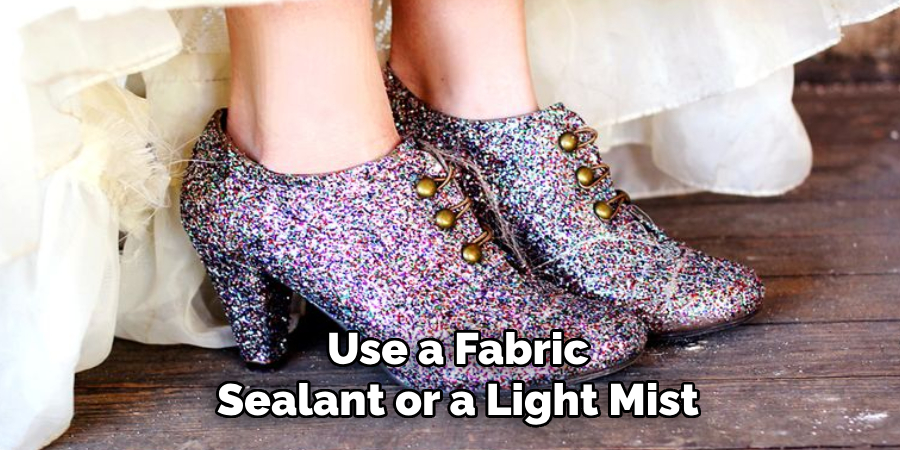
Because the glitter is mixed into the glue, there’s no risk of uneven application or excess glitter falling off. Work in layers, allowing each one to dry before applying the next for a more intense shine. Once completed, use a fabric sealant or a light mist of hairspray to keep the glitter in place. This approach is ideal for soft or flexible materials such as canvas or suede shoes.
6. Glitter Iron-on Vinyl
If you prefer a cleaner, more precise method, using glitter iron-on vinyl can be an excellent option. Cut the vinyl to fit your shoe’s design using scissors or a cutting machine. Place the vinyl onto the shoe and use a heat press or iron to adhere it, following the vinyl manufacturer’s instructions.
This method provides a smooth, professional-looking finish without loose glitter particles. It’s particularly effective for structured shoes like sneakers or slip-ons, as the vinyl adheres better to flat surfaces. Once applied, the glitter stays intact without requiring additional sealing.
7. Nail Polish Glitter Coating
A creative yet simple approach involves using glitter nail polish to add sparkle to your shoes. This method is best suited for small areas or intricate designs. Select a high-quality glitter nail polish with a dense formula and use a fine brush to apply it to the desired sections of the shoe.
Multiple coats may be necessary for full coverage, allowing each layer to dry thoroughly. Once satisfied with the opacity, seal the design with a clear topcoat or acrylic spray sealant for extra protection. This technique is great for touch-ups or creating unique patterns without the hassle of loose glitter.
8. Glitter Spray Paint
Glitter spray paint offers a quick and convenient way to achieve a shimmering effect with minimal effort. Choose a high-quality glitter spray paint in your desired color and shake the can thoroughly before use. Protect non-glitter areas with masking tape or plastic wrap.
Spray the paint in light, even layers, holding the can about 8 inches away from the shoe. Multiple coats may be needed for full opacity, allowing each coat to dry between applications. Finish with a clear spray sealant to enhance durability and prevent transfer. This method works particularly well on hard materials like leather, faux leather, or vinyl.
9. Rhinestone and Glitter Combination
For an extra glamorous look, combining glitter with rhinestones can create a dazzling effect. First, apply glitter using any of the methods mentioned above. Once the glitter is fully set and sealed, use strong adhesive like E6000 to place rhinestones in a decorative pattern.
This method allows for creative customization, whether it’s outlining designs, adding sparkle to the toe area, or creating a gradient effect. The combination of textures makes the shoes stand out even more and provides an elegant, multidimensional appearance.
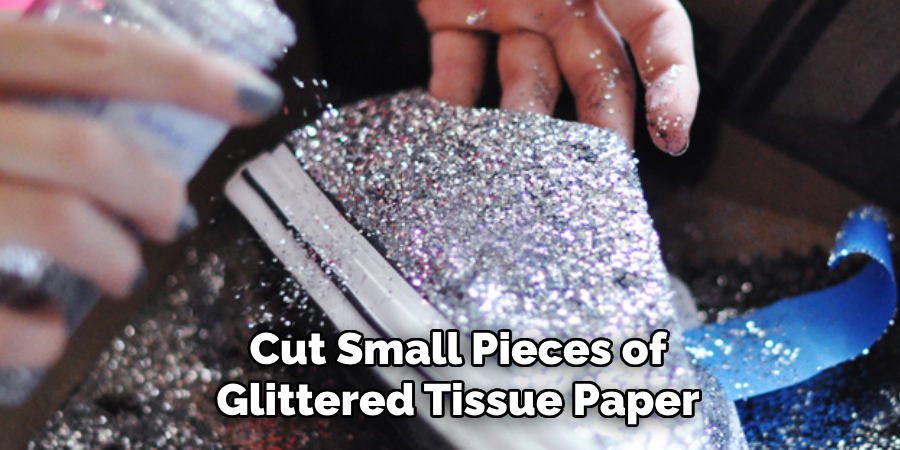
10. Glitter Decoupage with Tissue Paper
For a unique, artistic take on glitter shoes, consider using glitter-infused tissue paper for a decoupage effect. Cut small pieces of glittered tissue paper and adhere them to the shoe using Mod Podge. Overlap the pieces slightly to create a textured, mosaic-like effect. Once the entire shoe is covered, apply a final coat of Mod Podge or clear acrylic sealant to secure everything in place. This technique works well for achieving a more intricate, layered look that adds depth and dimension to the sparkle.
Conclusion
Transforming ordinary shoes into dazzling, glittery creations is an achievable and rewarding project, no matter your skill level. With various techniques ranging from simple glitter sprays and fabric glue mixtures to advanced options like epoxy resin or rhinestone combinations, there’s a method suited for every preference and material type.
Each approach ensures a unique outcome, allowing you to customize your shoes to reflect your personal style. Thanks for reading, and we hope this has given you some inspiration on how to diy glitter shoes!