
Pleather, short for “plastic leather,” is a popular synthetic material that mimics the look and feel of genuine leather while being more affordable and cruelty-free. Pleather shoes have become a favorite in modern fashion due to their versatility, durability, and wide range of colors and styles. Over time, however, pleather shoes can start to look worn or outdated, leading many to explore creative ways to breathe new life into them.
Painting pleather shoes is an exciting and cost-effective method to personalize your footwear or refresh an old pair. Whether you want to add bold designs, complement a specific outfit, or express your unique style, painting pleather shoes offers endless possibilities. This article aims to provide a comprehensive, step-by-step guide on how to paint pleather shoes, ensuring a smooth, durable, and stylish finish that can elevate your shoe game and make your creations truly one of a kind.
Understanding Pleather Material
What Is Pleather?
Pleather, or plastic leather, is a synthetic material made from a fabric base coated with plastic, typically polyurethane (PU) or polyvinyl chloride (PVC). Unlike real leather derived from animal hides, pleather is entirely man-made, offering a cruelty-free and more cost-effective alternative. It replicates the texture and appearance of genuine leather, making it a fashionable yet affordable choice.
Pleather is commonly used in various products, such as clothing, furniture, and accessories, with footwear being one of its most prominent applications. Many shoes use pleather due to its versatility, allowing manufacturers to experiment with colors, finishes, and designs while keeping costs low.
Challenges of Painting Pleather
Painting pleather can be a rewarding task, but it has its challenges. The synthetic nature of pleather means that paints may struggle to adhere properly to the surface, leading to issues like cracking, peeling, or fading over time. Furthermore, pleather lacks the porous quality of real leather, making it less absorbent and more prone to paint slipping or uneven application. Proper surface preparation is crucial to overcome these obstacles and achieve durable, high-quality results.
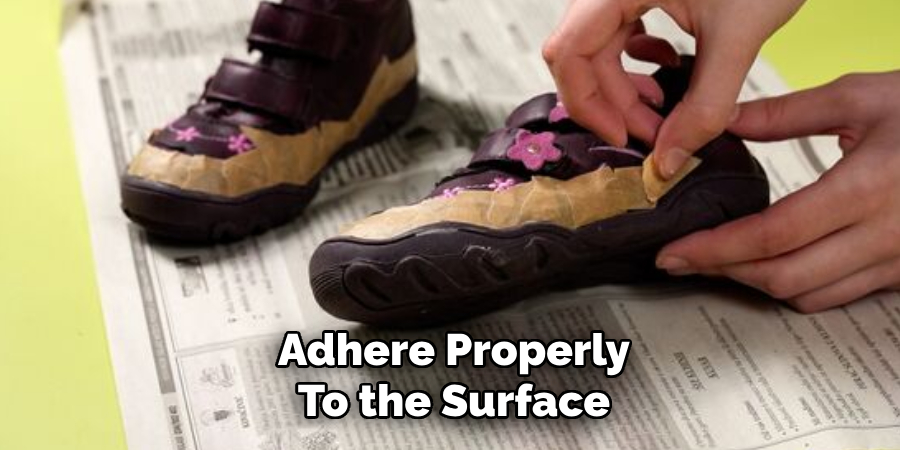
This includes cleaning the shoes thoroughly, using the right type of paint, and applying a primer if needed. By addressing these challenges head-on, you can extend the life of your painted pleather shoes and ensure a professional-looking finish.
Gathering the Right Tools and Materials
Achieving great results when painting pleather shoes starts with having the right tools and materials on hand. Each component ensures the paint adheres well and lasts over time.
Paint Selection
Choosing the correct type of paint is essential for successful pleather shoe customization. Fabric paints or acrylic leather paints are ideal, as they are specifically designed to be flexible and durable, preventing cracking or peeling when the shoes are worn. Some recommended brands for painting pleather shoes include Angelus Leather Paint, DecoArt Fabric Paint, or Jacquard Lumiere. These paints offer excellent color vibrancy and long-lasting performance.
Other Necessary Materials
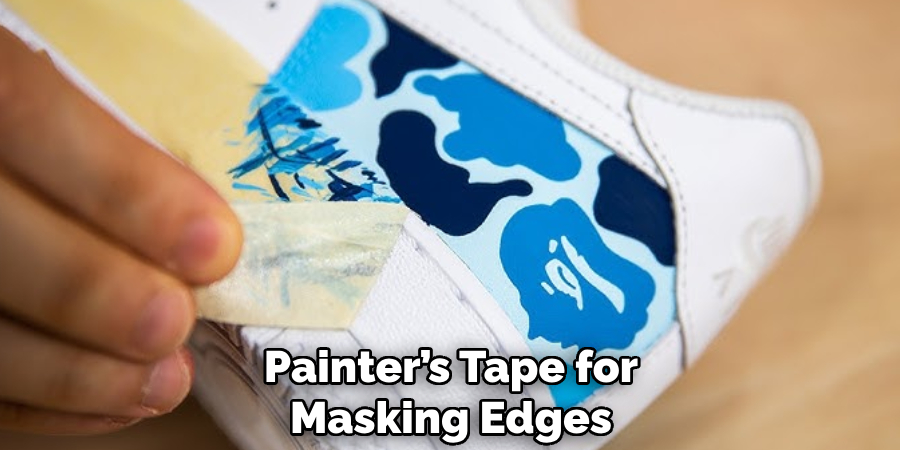
To achieve a smooth and professional finish, gather additional materials like painter’s tape for masking edges, various-sized brushes for detailed work, sponges for broader strokes, and stencils for creating intricate patterns. It’s also important to include cleaners, primers for prepping the surface, and durable sealers to protect the final design.
Protective Gear
Safety should always come first when working on your project. Equip yourself with gloves to avoid direct skin contact with paints and chemicals, aprons to protect your clothing, and ensure proper ventilation in your workspace to minimize inhaling fumes during the painting process.
Preparing the Pleather Shoes for Painting
Proper preparation is key to achieving a flawless and long-lasting design when painting pleather shoes. Taking the time to clean, sand, and prime the surface ensures the paint adheres well and delivers vibrant, professional results.
Cleaning the Shoes
Cleaning pleather shoes is the first and most crucial step in the preparation process. Removing dirt, oils, and other contaminants creates a clean surface for the paint to bond with effectively. Start by using mild soap and water to wipe down the shoes with a soft cloth. For more stubborn residue, rubbing alcohol is an excellent option, as it helps to break down oils and dries quickly without leaving behind moisture.
Alternatively, specialized cleaners designed for pleather or synthetic leather can be used for deeper cleaning. Make sure to wipe the shoes thoroughly and allow them to dry completely before moving on to the next step.
Sanding the Surface
To improve paint adhesion, lightly scuff the pleather surface with fine-grit sandpaper (around 320-400 grit). This process creates a slightly textured surface, allowing the paint to cling better and reducing the likelihood of peeling or cracking over time. Be careful not to over-sand, as this could damage the material. Focus on creating a uniform texture across the areas that will be painted.
Applying Primer
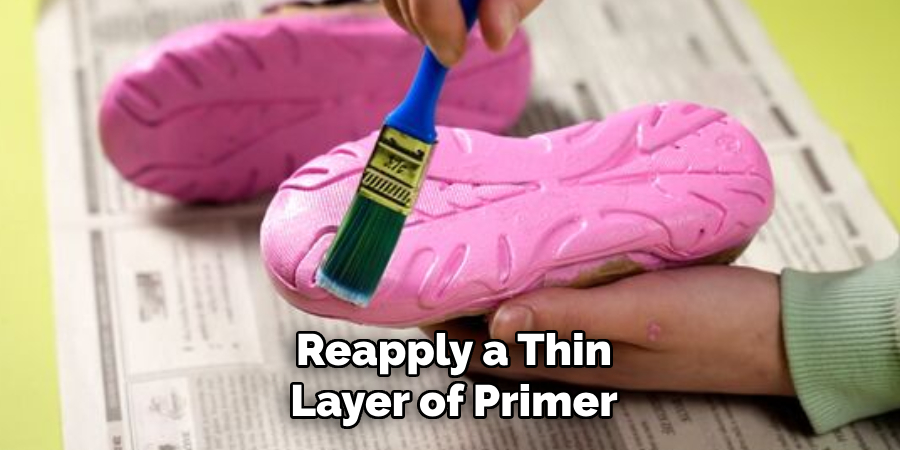
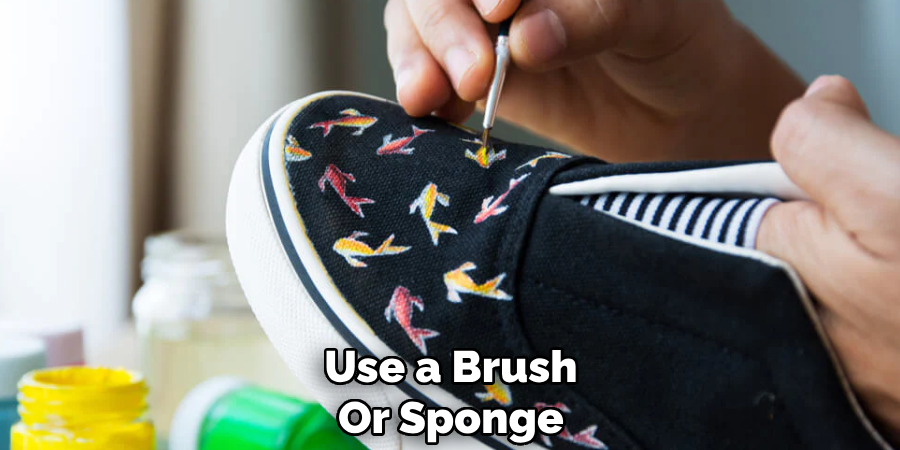
Once the pleather shoes are clean and sanded, apply a thin layer of flexible primer for synthetic materials. Using a primer helps the paint adhere more securely and enhances its durability. Use a brush or sponge to evenly coat the surface, covering all areas where paint will be applied. Allow the primer to dry completely—this step is crucial to ensure smooth and even paint application. Depending on the product, drying times may vary, so follow the manufacturer’s recommendations for best results.
How to Paint Pleather Shoes: Painting Techniques for Pleather Shoes
Basic Painting Method
When painting pleather shoes, applying the paint in thin, even layers is essential. Use a brush or sponge designed for smooth, synthetic surfaces to ensure the most seamless application. Begin with light strokes, ensuring you don’t overload the tool with paint to avoid streaks or drips. Apply one coat and allow it to dry fully before moving on to the next.
This helps prevent clumping and ensures each layer adheres properly for a smooth, professional finish. Depending on the type of paint used, following the drying time recommended by the manufacturer is crucial. Typically, waiting at least 30 minutes between coats will yield the best results.
Using Stencils and Patterns
Stencils and painter’s tape can be incredibly effective in creating clean and detailed designs. Secure the stencil or tape firmly onto the pleather surface to prevent it from shifting while you work. This method ensures sharp edges and prevents the paint from bleeding into undesired areas. For best results, use light dabbing motions with a sponge or a dry brush when applying paint near stencil outlines, as this reduces the risk of paint seeping underneath.
Once the paint has dried completely, carefully peel off the stencil or tape to reveal crisp, well-defined patterns on your shoes.
Working with Multiple Colors
When working with multiple colors or creating complex designs, layering is key. If two colors need to meet, such as in stripes or blocks of color, use masking techniques to define the boundaries. Place painter’s tape over dry paint to protect certain areas as you apply another color. Additionally, use a sponge or soft brush to create a gradient effect for blending or transitioning between hues. Work quickly with wet paint to achieve a natural blend, and experiment on scrap material beforehand to perfect your technique.
Drying Time and Patience
Allowing adequate drying time between coats cannot be overstated. Rushing the process can lead to uneven surfaces, smudges, or peeling paint. Patience is vital to achieving a smooth, long-lasting finish. After all layers are completed, allow the painted shoes to cure for at least 24 hours before wearing or applying any protective sealant. Committing to proper drying times ensures your painted pleather shoes maintain their vibrant look and durability over time.
Sealing and Protecting the Paint
Choosing the Right Sealer
Selecting the right sealer is crucial to ensure your painted pleather shoes maintain their vibrant look and withstand regular use. A flexible acrylic sealer is the best choice as it adapts to the movement of the pleather, preventing cracks or peeling over time. When deciding between a matte or gloss finish, consider the overall aesthetic of your design. Matte finishes offer a subtle, understated look, while gloss finishes add shine and vibrancy, enhancing bold patterns or colors.
Applying the Sealer
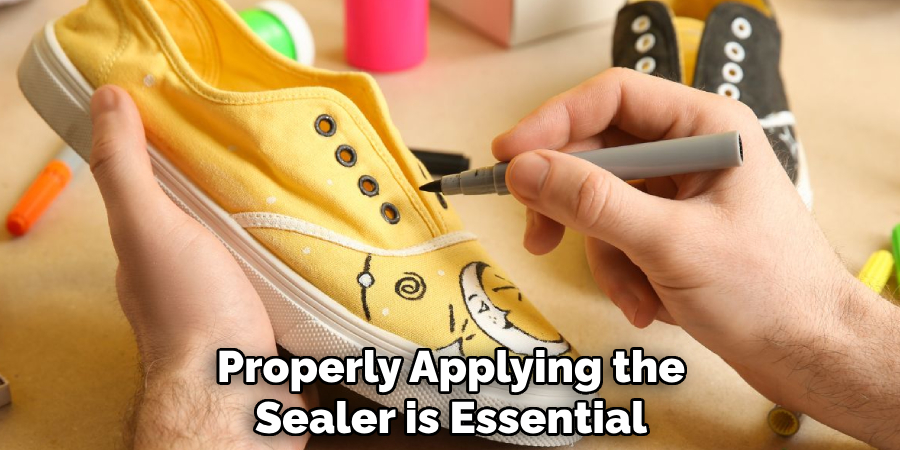
Properly applying the sealer is essential for durability. Use a clean, soft brush or sponge applicator to apply a light, even coat across the entire painted surface. Avoid overloading the applicator to prevent streaks or uneven textures. Allow the first coat to dry fully before evaluating if additional coats are needed for extra protection. Once finished, leave the shoes to cure for at least 24 hours before wearing. This ensures the sealer sets ultimately, providing maximum durability and a finished, professional appearance.
Long-Term Care for Painted Pleather Shoes
Proper maintenance is key to preserving your painted pleather shoes even with a strong sealer. Clean them gently with a damp cloth to remove dirt, avoiding harsh chemicals that could damage the paint or sealer. Store the shoes in a cool, dry place, away from prolonged exposure to direct sunlight, which can cause fading. With attentive care, your custom-painted pleather shoes will continue to look their best for years to come.
Troubleshooting Common Problems
Cracking or Peeling Paint
Cracking or peeling paint on pleather shoes can happen if the surface was not prepped correctly or if low-quality paints were used. To prevent this, always clean the pleather thoroughly and ensure the primer is compatible with your paint. If cracks or peeling occur, lightly sand the affected area with fine-grit sandpaper to smooth it out. Reapply a thin layer of primer followed by fresh paint, ensuring even application. Finish with a quality sealer for added durability.
Uneven or Streaky Paint
Uneven paint layers or streak marks often result from inadequate blending or overloaded brushes. Avoid this by using thin, consistent layers and allowing each coat to fully dry before applying the next. Use a high-quality paintbrush or sponge applicator for better control. To fix existing streaks, gently sand them down, then apply a thin coat of paint to even out the color.
Adhesion Issues
If paint fails to stick well to the pleather, it may be due to insufficient surface preparation. Sand the pleather lightly with fine-grit sandpaper to create a texture to which the paint can adhere. If problems persist, consider using a different primer explicitly designed for non-porous surfaces like pleather. Proper preparation and quality materials can make all the difference in achieving a flawless finish.
Creative Ideas for Painting Pleather Shoes
Customizing Your Design
Unleash your creativity by experimenting with fun patterns and designs on your pleather shoes. Ombre effects, blending colors from light to dark, can create a striking and trendy look. Geometric shapes or bold color blocks offer a modern aesthetic, while hand-painted artwork allows for truly unique and personal designs. Consider incorporating stencils or freehand illustrations to add intricate details and make your shoes stand out even more.
Upcycling Old Shoes
Breathe new life into old, worn-out shoes by transforming them into stylish statement pieces. A fresh coat of paint can completely revamp their look, hiding scuffs and blemishes while showcasing your creative flair. Add decorative touches such as metallic accents, floral patterns, or abstract designs to turn them into unique, one-of-a-kind fashion items. Upcycling pleather shoes is both an eco-friendly and artistic solution.
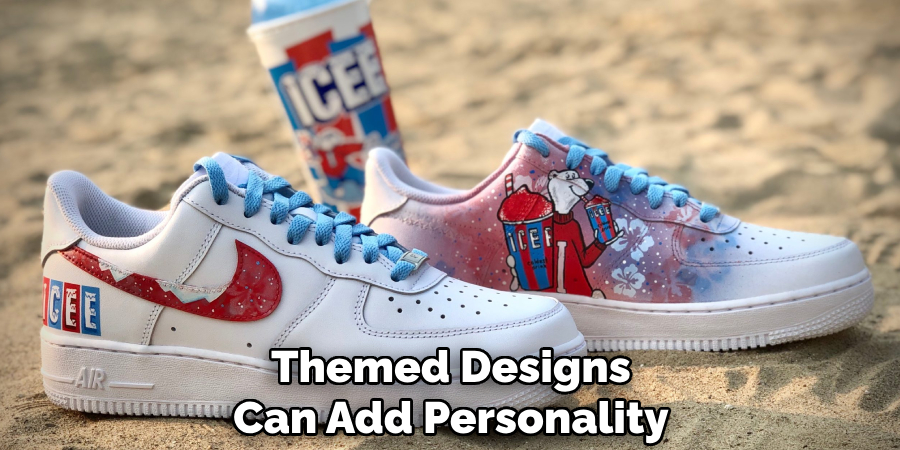
Seasonal or Themed Designs
Celebrate special occasions or express your personality with themed shoe designs. Paint festive motifs like holiday snowflakes, pastel florals for spring celebrations, or spooky patterns for Halloween. Whether for a wedding, party, or everyday wear, themed designs can add personality and charm to your shoes, making them perfect for any event or mood.
Conclusion
Learning how to paint pleather shoes opens up limitless opportunities for creativity and personalization. Start by preparing the surface thoroughly to ensure the paint adheres properly. Then, carefully paint your chosen design, taking time to build up layers for a smooth, vibrant finish. Finally, seal your work for durability and long-lasting results.
Don’t be afraid to experiment with different techniques, colors, and styles to create a truly unique look. By taking the time and care needed, you can transform your pleather shoes into stunning, customized fashion pieces that reflect your personality and stand the test of time.

