

Changing the color of your shoes is a creative way to breathe new life into an old pair or customize a new one to better suit your style. Whether you’re looking to refresh worn-out colors, match a specific outfit, or create a unique design, the process can be simple and rewarding. With the right tools and techniques, you can transform your shoes to reflect your personality and preferences.

This guide on how to change shoe colour will walk you through the steps to successfully and safely change the color of your shoes, ensuring professional-looking results every time.
Why Change Shoe Colour?
There are a plethora of reasons why you may want to change the color of your shoes. Here are some common ones:
Revive Old or Worn-out Shoes
We all have that one pair of shoes we love, but the color has faded or gotten scuffed over time. Changing their color can make them look brand new again.
Match a Specific Outfit
Sometimes, you may have the perfect outfit but no shoes to match. Changing the color of your shoes can help create a cohesive and put-together look.
Customize Your Style
Changing the color of your shoes is an easy and fun way to add some personal flair to your wardrobe. You can experiment with different colors and designs until you find one that truly represents your style.
Materials Needed
Before getting started, make sure you have all the necessary materials on hand. Here’s what you’ll need:
Shoes
The shoes you want to change the color of. It’s recommended to use leather or canvas shoes, as these materials are easiest to dye.
Leather or Canvas Dye
This can be found at most craft or shoe stores. Choose a color that you want and make sure it’s suitable for the material of your shoes.
Cleaning Supplies
Before dyeing, it’s important to clean your shoes thoroughly. You’ll need warm water, mild soap, a soft-bristled brush, and a cloth to dry them with.
Protective Gear
Dyeing shoes can get messy, so it’s best to wear old clothes and gloves to protect your hands from staining.
Sponge or Brush
A sponge or brush will be used to apply the dye evenly onto the shoes.
8 Steps on How to Change Shoe Colour
Step 1: Prepare Your Workspace
Before you begin dyeing your shoes, it’s important to set up a clean, well-ventilated workspace to ensure the process goes smoothly. Choose an area with plenty of light so you can see where you’re applying the dye. Cover your workspace with old newspapers or a plastic sheet to protect the surface from stains.
Keep all your materials within arm’s reach to avoid interruptions—this includes your dye, cleaning supplies, sponge or brush, and protective gear. Finally, make sure you’re wearing gloves and old clothes to prevent any accidental staining. A well-prepared workspace sets the foundation for professional-looking results.
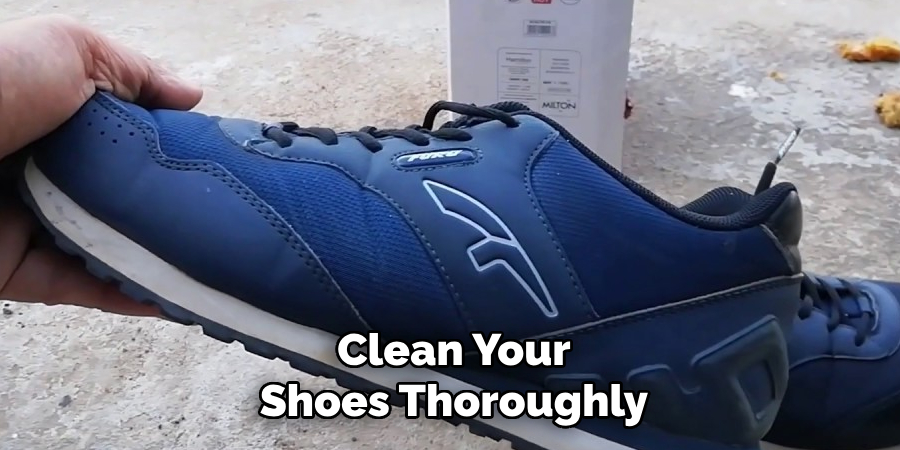
Step 2: Clean Your Shoes
Before dyeing your shoes, it’s crucial to clean them thoroughly to ensure the dye adheres properly. Use warm water and a mild soap to scrub away any dirt or grime from the surface of your shoes. Pay attention to areas that get easily overlooked, such as the creases and edges of the shoe.
Once you’ve cleaned your shoes, use a cloth to dry them off completely. Letting them air dry is also an option, but make sure they’re fully dried before moving on to the next step.
Step 3: Prepare the Dye
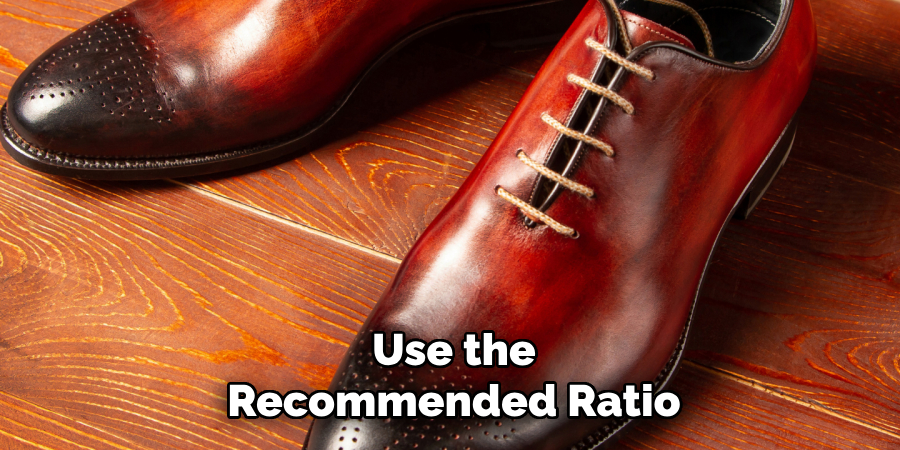
Properly preparing the dye is essential for achieving an even and vibrant color on your shoes. Start by carefully reading the instructions on the dye packaging, as different products may have specific preparation requirements. Shake the dye bottle well to ensure the color is thoroughly mixed. If the dye needs to be diluted, use the recommended ratio and mix it in a small bowl or container.
It’s also a good idea to test the dye on a small, inconspicuous area of the shoe or a similar material to see how the color appears once applied. This allows you to make adjustments if necessary, such as adding more dye for a deeper shade or diluting further for a lighter hue. Once you’re satisfied with the preparation, you’re ready to begin the application process.
Step 4: Apply the Dye
Using your sponge or brush, apply the dye to your shoes in smooth and even strokes. Start at the top of the shoe and work your way down, making sure to cover every part of the shoe. Don’t worry if you get some dye on areas you don’t want it—this can be easily fixed in a later step.
Once you’ve applied an even coat of dye, let it sit for a few minutes according to the instructions on the packaging. This allows the color to fully penetrate into the material. If you’re looking for a darker shade, apply a second coat following the same process.
Step 5: Remove Excess Dye
After applying the dye and allowing it to set, it’s important to remove any excess dye from the surface of the shoes. Using a clean, dry cloth or a soft-bristled brush, gently rub the shoes to lift any leftover dye that hasn’t been absorbed into the material. This step prevents smudging or transferring of color onto clothing or other surfaces.
Be thorough but gentle to avoid removing too much dye or damaging the finish. Once you’ve ensured that no excess dye remains, the shoes are ready for their final touches in the next steps.
Step 6: Touch Up Problem Areas
After removing the excess dye, inspect your shoes closely for any uneven spots, streaks, or areas where the color may not have fully adhered. These problem areas can be touched up using a small, precision brush or a sponge to carefully apply more dye where needed.
Apply the dye in light, controlled strokes to avoid over-saturating these sections, and blend the edges into the surrounding areas for a seamless look. Allow the touch-up areas to dry completely before proceeding. This step ensures a consistent and professional finish for your newly colored shoes.
Step 7: Let the Shoes Dry
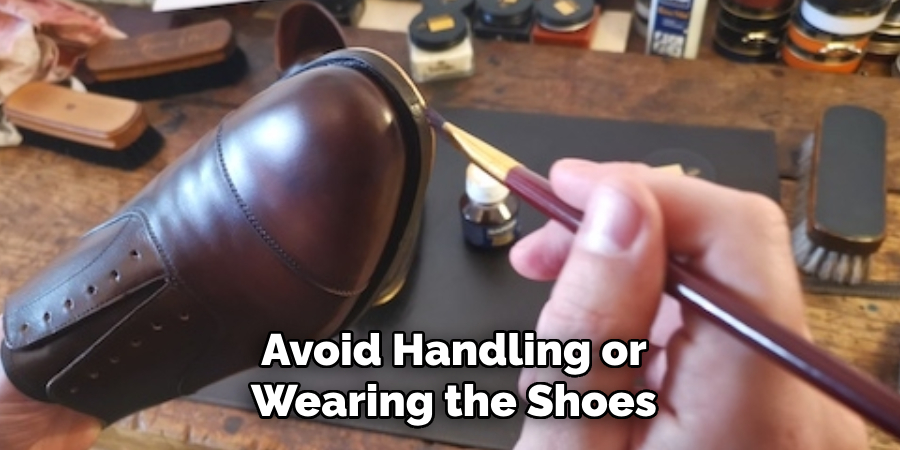
Once you’ve completed all the previous steps, it’s time to let your shoes dry completely. This can take anywhere from a few hours to overnight, depending on the type of dye used and how many coats were applied. Place the shoes in a well-ventilated area away from direct sunlight or heat sources.
Avoid handling or wearing the shoes until they’re fully dry to prevent smudging or damaging the color. It’s better to be patient and wait for them to dry completely before wearing them out.
Step 8: Seal and Protect Your Shoes
To ensure the longevity of the new color and protect your shoes from future wear and tear, it’s important to seal the dye. Use a leather or canvas sealant that suits the material of your shoes, which can usually be found at shoe repair shops or craft stores. Follow the instructions on the product packaging carefully to apply the sealant.
Using a clean cloth or applicator, add an even layer of sealant over the entire surface of the shoes. This will help set the dye, provide a protective barrier, and give your shoes a finished look. Allow the sealant to dry completely—this may take several hours. Once dry, your shoes will be ready to wear, boasting their fresh, vibrant color with added durability.
Following these steps on how to change shoe colour will help you successfully dye your shoes and achieve a professional-looking finish. With proper preparation, application, and sealing, your newly colored shoes will be a unique addition to your wardrobe that reflects your personal style. Experiment with different colors and techniques to create one-of-a-kind shoes that are sure to turn heads. Have fun and enjoy the transformation!
Frequently Asked Questions
Q1: Can I Dye Any Type of Shoe?
A: Yes, you can dye most types of shoes as long as they are made from natural materials like leather, suede, or canvas. Avoid using dye on synthetic materials or shoes with special finishes that may not take to the color well. It’s always best to do a small patch test on an inconspicuous area before dyeing the entire shoe.
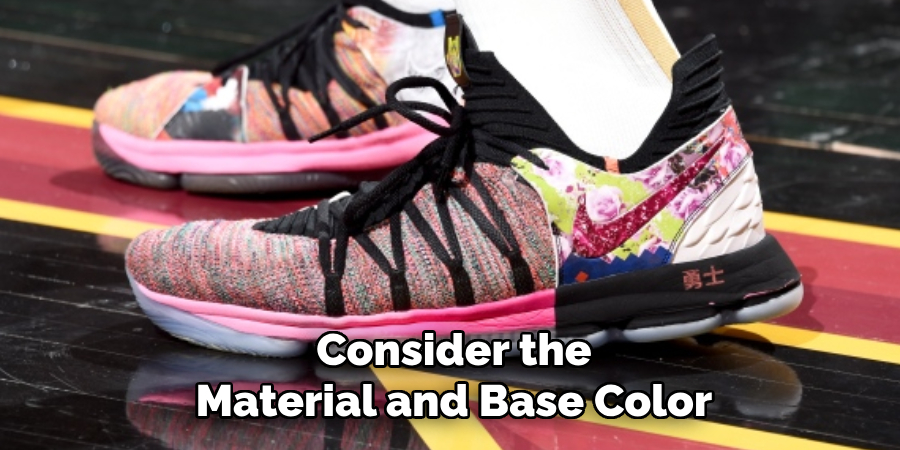
Q2: How Do I Choose the Right Dye Color?
A: The choice of dye color ultimately depends on your personal preference. However, consider the material and base color of your shoes when selecting a dye color. Lighter colors will show up better on light-colored shoes, while darker colors may offer more coverage on dark or heavily scuffed shoes. Additionally, keep in mind that the original color of your shoes may affect how the final color turns out.
Q3: Can I Change My Shoes Back to Their Original Color After Dyeing?
A: Unfortunately, once you dye your shoes, it’s almost impossible to revert them back to their original color. So, it’s important to choose a color that you’ll be happy with in the long run. If you’re unsure about dyeing your shoes permanently, consider using a temporary fabric paint or spray instead. These options can easily be removed with water or wear off over time.
Conclusion
Dyeing your shoes is a fantastic way to breathe new life into old footwear and express your personal style. By carefully following each step on how to change shoe colour—from preparation to sealing—you can achieve a professional and lasting result that transforms your shoes into something truly unique.
The process requires patience and attention to detail, but the reward is a custom pair of shoes that showcase your creativity and craftsmanship. With the tips and guidance provided in this guide, you’re ready to take on your next shoe transformation project with confidence. Happy dyeing!